A BEGINNER’S GUIDE TO: SNOWSHOEING
In my never-ending quest to find a way to enjoy the winter months, I’ve been making an effort at getting outside more during the deep freeze. For me, this helps pass the season while avoiding the worst side effects of cabin fever.
Still, it’s hard at times to get motivated to layer up and step out the door but having a new activity to master, like snowshoeing, helps a lot. (So does having a high-energy dog that starts bouncing off the walls if she doesn’t get her exercise, but that’s a story for another day)
This post may include affiliate links. As an Amazon Associate I earn from qualifying purchases. Find more info in my privacy policy.
Snowshoeing is a relatively simple and easy way to enjoy the outdoors during winter. It doesn’t involve a lot of expensive or complicated equipment and is really nothing more than putting one foot in front of the other.
That said, there are some tips, tricks and techniques that will make your first time on snowshoes more enjoyable. I put together this guide to make it easy for newbies to emerge from their hibernation caves and get some fresh air – so if you’re itching to get outside, this one’s for you.
Why Go Snowshoeing?
You might be asking yourself why in the world anyone would want to bundle up, go out in the cold, and trudge through snow? Here are just a few reasons you might want to give snowshoeing a try:
- It gets you outside (remember what fresh air and sunshine feels like? Yeah, that.)
- It’s a great workout and you’ll work muscles you forgot about (hellooo hip flexors)
- It’s one of the easier winter sports
- It allows you to go places that are normally inaccessible in winter time
The Basics of Snowshoeing
Snowshoeing is hardly a new sport. Snowshoes have been around for centuries as a way to make traveling in snow easier and more efficient by preventing postholing (that horrible moment when you step on a snowbank that you think will hold your weight and you end up ass-cheek-deep in the snow). Basically, the larger surface area of the snowshoe distributes your weight and keeps you “floating” on top of the snow. Simple.
Equipment for Snowshoeing
The Right Snowshoes for Beginners
All snowshoes operate in the same basic way, but the design is continually becoming more complex and specific to certain terrain and snow conditions. If you’ve ever looked into renting or buying snowshoes, you could very likely have become overwhelmed at your options. Here’s a basic breakdown of the different features of snowshoes:
A larger deck (the big flat part of the snowshoe) will provide better flotation and is ideal for snowshoeing in loose, powdery snow or for carrying heavier loads. A smaller deck is better for lighter loads and on packed snow.
Basically, if you’re small, not planning on carrying a heavy pack, and looking to do groomed trails, a smaller deck will work. If you’re heavier or planning to carry a full pack or looking to blaze your own trail, then a larger deck is for you. Female-specific snowshoes tend to have a narrower deck and are designed for a smaller shoe size so that might be something you want to consider when choosing a snowshoe style.
Variations in traction (the “teeth” or crampons on the bottom of the snowshoe) are aimed at different types of terrain and snow conditions. A snowshoe designed for flat terrain and rolling hills will have minimal traction, while those designed for mountains and icy conditions will have more aggressive traction.
Bindings will vary in design but all will allow you to strap your snowshoes to any type of boot. Ease of use and durability are the main things to consider here. Test them out and remember that you’ll likely be putting them on when the bindings (and your fingers) are cold so something simple to use is best.
Most beginners will want to try snowshoes for flat terrain and rolling hills as this is likely where you’ll be starting out anyway. Renting or borrowing snowshoes for your first few times out can help you narrow down what you’re looking for before you buy. Check with local outfitters or parks organizations to see if they rent. If you’re ready to buy, consider your size and the type of terrain and snow conditions you’ll be snowshoeing in most often before choosing a style.
Check out types, styles and prices of snowshoes on REI and Amazon.
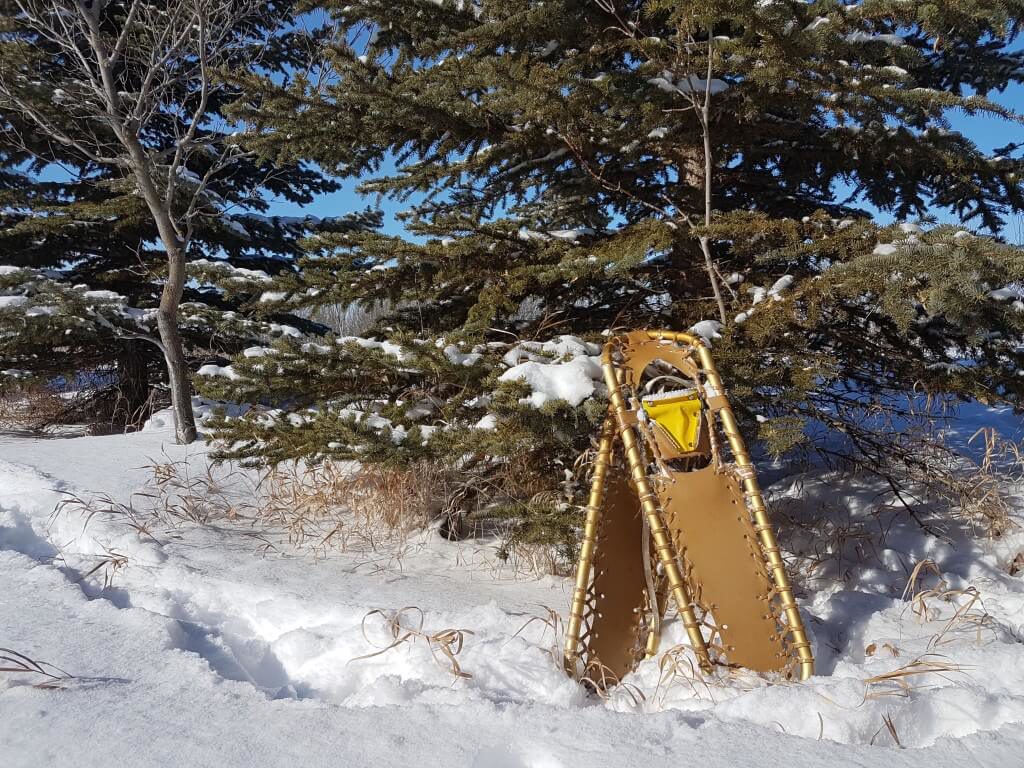
I happen to use hand-me-down snowshoes that were given to my parents who then gave them to me. The deck is probably a little large for me, but they happen to work well when I’m out in the fields after a fresh snowfall. Ask around, maybe friends or family members have an old pair laying around that will get you started.
What Boots to Wear When Snowshoeing
Any insulated winter boot will work for more low-key casual outings. If you’re looking to do more demanding trips in the mountains, you’ll want to have sufficient ankle support. This could be insulated winter hiking boots or summer hiking boots with extra warm socks.
Speaking of socks, a warm wool sock will be your best bet for snowshoeing and gaiters will help keep snow out of your boots and your feet dry.
I like my Wigwam socks for snowshoeing.
Clothing for Snowshoeing
The clothes you wear while snowshoeing will be the same basics as for any outdoor winter activity. Keys to dressing for snowshoeing include maintaining range of motion, layering, and wicking (ie: don’t wear cotton).
Start with an insulating base layer, add a warm but thin mid layer (like a fleece jacket and pants), and finish off with a warm outer layer. Depending on temperature, your outer layer can be anything from a thin softshell jacket and pants to a thicker parka and snowpants combo. A waterproof outer layer is ideal for longer trips or in conditions that you might get wet.
You’ll also want a toque, mitts, and a face mask/balaclava or buff.
Here’s what I wear:
- Base layer – MEC T-3 ¾ zip top and bottoms
- Mid layer – fleece-lined hoodie and light hiking pants
- Outer layer – a heavier sweater/hoodie or parka and snowpants (depending on temperature)
Poles for Snowshoeing
Carrying a walking stick, ski poles, or adjustable hiking poles is highly recommended. Poles can help you maintain balance while getting used to the snowshoes and can help get you upright again if you happen to fall (which is probably going to happen, especially in the beginning).
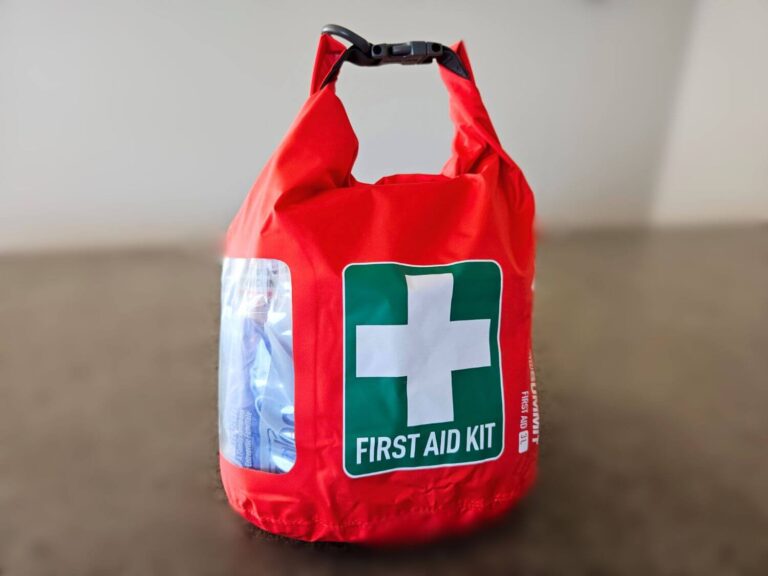
A Day Pack with the Ten Essentials
Any time you head out into the backcountry it’s a good idea to carry the Ten Essentials with you for those unexpected mishaps. This includes:
- Navigation (map, compass, GPS)
- Sun protection (sunglasses, sunscreen, and SPF lip gloss)
- Illumination (headlamp – I love my Biolite Headlamp 330)
- First aid kit
- Fire starter
- Repair kit (even duct tape can help fix a broken binding in a pinch)
- Food
- Water
- Emergency shelter
- Communication (make sure to check if you’ll have cell reception where you plan to snowshoe)
Picking a Spot and Planning Your Day
Check local parks (urban, regional, provincial/state, national) to see if they offer snowshoeing trails. They’ll likely have good information about distance, terrain, difficulty, and current conditions. If that’s not an option for you, check into public lands, or see if there are trail associations that maintain trails in your area.
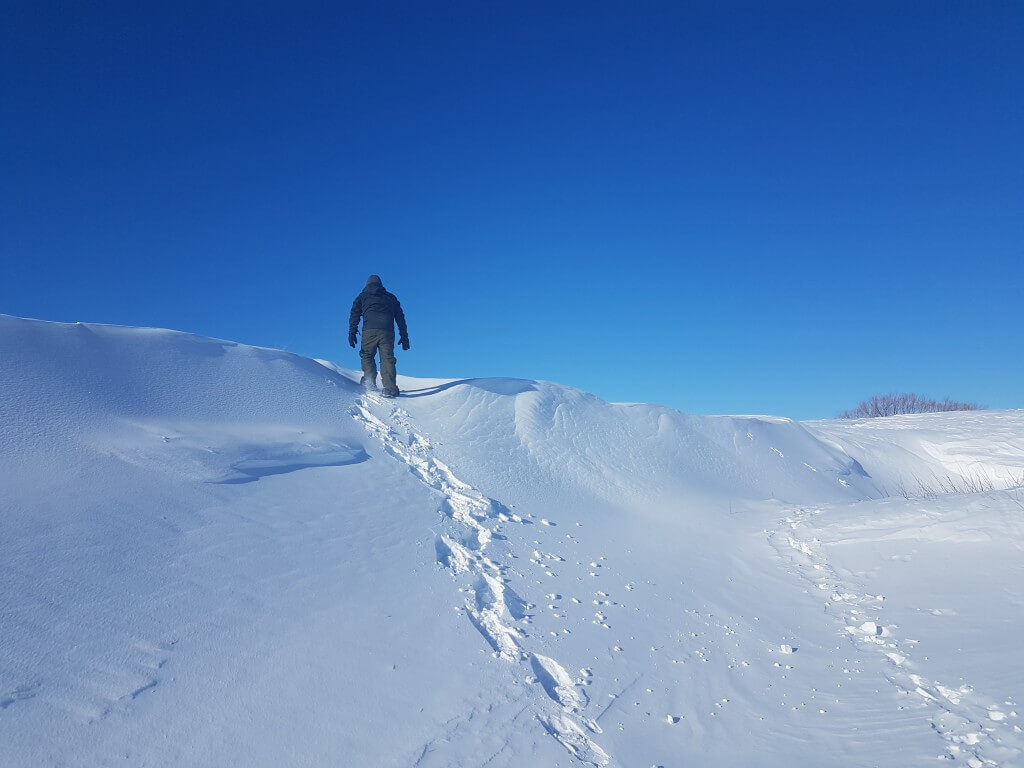
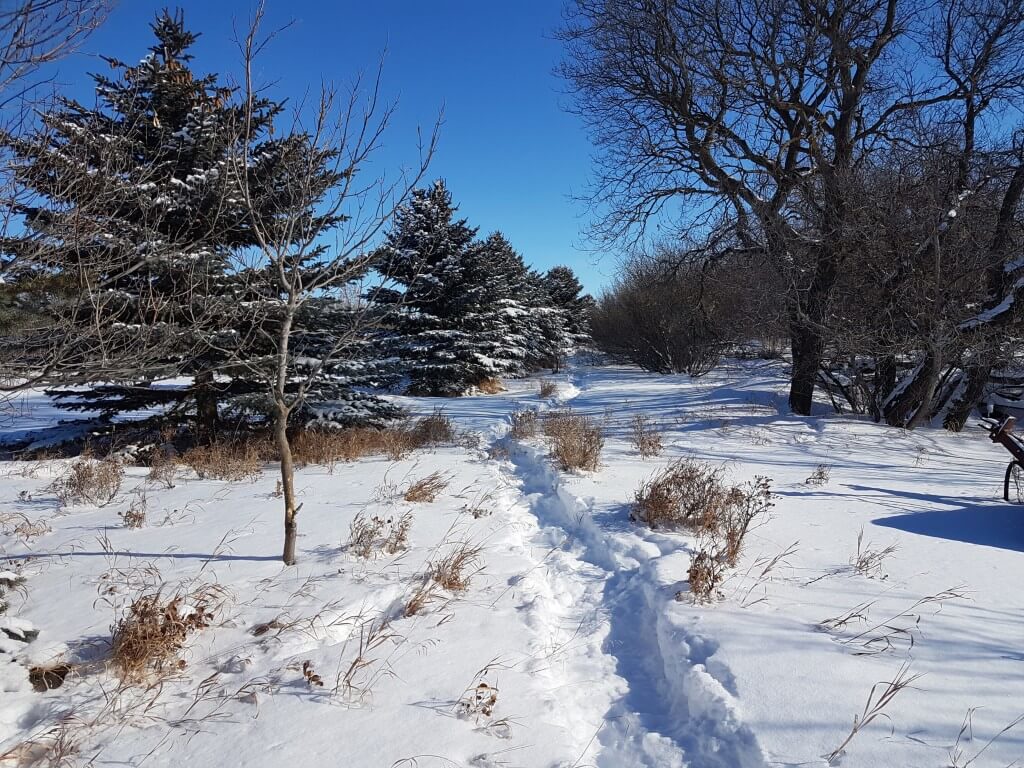
I snowshoe in the shelter belt and fields around my parents’ farm – it’s quiet, private, and I can let the dog run free without worrying about her bugging other people. The downside is that I have to break my own trails, but it’s a good trade off for me. If you have friends or family that own suitable land, consider asking if you can use their property for snowshoeing.
You’ll likely want to start out with short sessions on flat, groomed trails as snowshoeing takes a bit of getting used to. You’ll be using muscles you’re not used to using so go easy the first few times.
Other things you’ll want to consider before heading out:
- Check the weather (including the windchill factor) before you go. Nothing will turn you off from outdoor winter sports faster than going when there’s a cold, nasty wind. Plus, frostbite isn’t fun so cover up if it’s cold.
- Check the snow conditions and avalanche reports if you’ll be going out in an area where there is an avalanche risk.
- Leave a trip plan with someone you trust that lets them know where you’re going, who you’re going with, how long you’ll be gone, and when you plan to return.
Snowshoeing Technique
As I mentioned earlier, snowshoeing is one of the easiest winter sports to try. Basically, if you can walk, you can snowshoe. But it is a little different than just going for a stroll, so I’ve shared a few tips below – most of which I learned the hard way.
Walking in Snowshoes
- Walk with your feet a bit wider than usual so you’re not catching the edges of the snowshoes on one another
- Lift your knees high enough that you’re not dragging snow along with you
- When walking on hills, you’ll want to use the traction to stabilize you – put pressure on the area of your foot where the crampons are and “kick” into the snow for a better grip
Turning Around in Snowshoes
- Depending on the length of your snowshoes, turning around can be a bit tricky to do without getting them crossed and ending up in the snowbank
- A wide U-turn is the best bet to get turned around without getting caught up
- If there isn’t room for a U-turn, side-shuffle one foot at a time in a circular motion until you get turned around (make sure you check that your snowshoes aren’t overlapping before taking each step)
Getting Up When You Fall
- Poles come in very handy – either plant them directly in front of you and use them to pull yourself up or lay them flat on the snow in a criss-cross pattern and use them to push yourself up
- If you don’t have poles, try to pack down the snow with your hands a bit and use that to push yourself up
Tips for After Your Snowshoeing Adventure
- Don’t forget to knock the extra snow and ice from your snowshoes and store them somewhere that they can dry off so they’re ready for your next outing
- You’ll likely be sore after your first few outings, especially in your hip flexors, adductor and abductor muscles. Yoga With Adrienne’s Yoga for Psoas practice is great for a post-snowshoe stretch session.
- Celebrate the fact that you emerged from your hibernation and enjoyed a winter day with a hot beverage of your choice!
So there you have it – my guide to snowshoeing! Hopefully this helps gets you out and about despite the cold.
Have you tried snowshoeing? Is it on your list of things to try? Share in the comments below!
Check out my other posts for beginners here:

Snowshoeing is like hiking but more fun! Great article!
Thanks Daphne! I agree, very similar to hiking – also, it’s a softer landing when you trip and fall in the snow 🙂