MY COMPLETE DIY FIRST AID KIT FOR OUTDOOR ADVENTURES
I’ve always carried a first aid kit on our adventures, whether we’re hiking, kayaking, backpacking, or foraging, but it wasn’t until I took a Wilderness First Aid course that I realized how little thought I had put into what was actually in my pack.
With the help of my wilderness first aid instructor, I have since put together a much more robust and useful first aid kit.
This post may include affiliate links. As an Amazon Associate I earn from qualifying purchases. Find more info in my privacy policy.
Below, I run through what’s in my first aid kit and important things to keep in mind when building out a first aid kit for yourself.
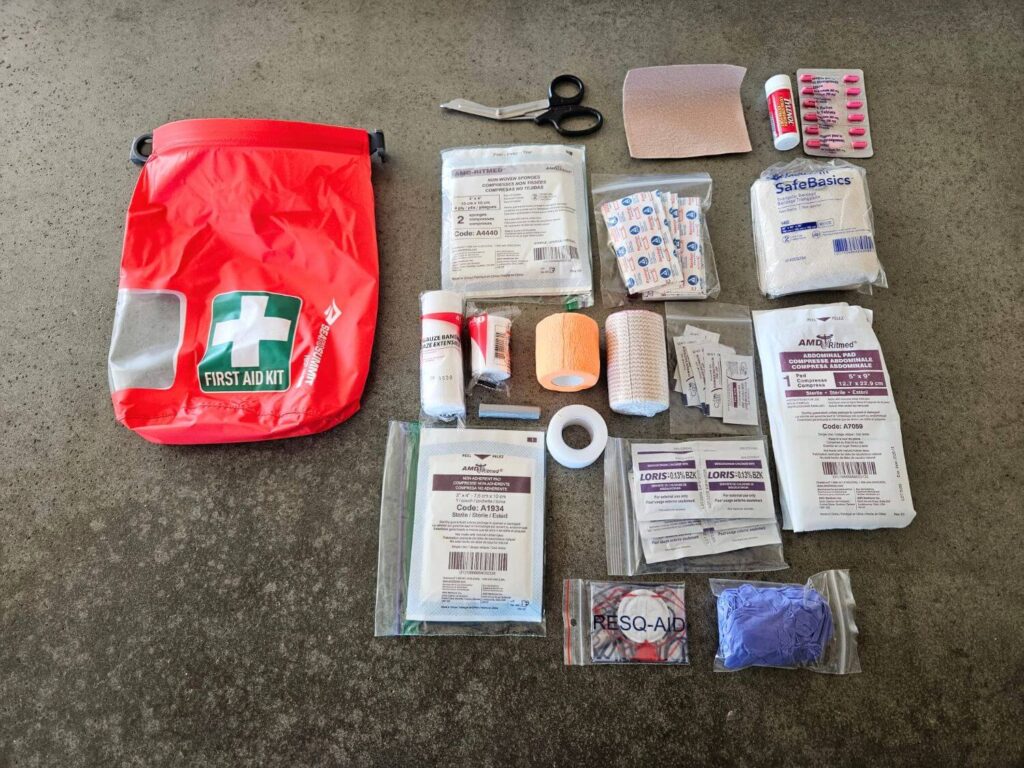
DIY FIRST AID KIT LIST
Below, you’ll find a list of what I typically carry in my first aid kit when I’m out adventuring solo or with Mark on day trips or shorter multi-day trips. For longer adventures lasting more than two or three nights, or if going with a larger group, I’d likely beef this kit up with additional quantities of the consumable items.
- Scissors
- Tweezers
- Safety Pins (3)
- Gloves (2 pair)
- 1″ Tape
- Hand Cleansing Towelette (2)
- Antiseptic Swabs (5)
- Alcohol Swabs (5)
- Antibiotic Ointment (5)
- Assorted Band-Aids (15)
- Butterfly Band-Aids (5)
- Triangular Bandage (2)
- Sterile Gauze Pad 4×4″ (2)
- Non-Adherent/Non-Stick Sterile Gauze Pad 3×4″ (2)
- Abdominal/Combine Pad 5”x9″ (2)
- Conforming Gauze Roll 2″
- Conforming Gauze Roll 4″
- Vet Wrap
- Tensor Bandage 3″
- OTC Painkillers (Ibuprofen and Acetaminophen)
- Pepto Bismal Pills
- Antihistamine (Benadryl)
- Moleskin
- Duct Tape
TIPS FOR BUILDING YOUR OWN FIRST AID KIT
Choosing to build out your own first aid kit gives you much more control over the contents than relying on a store-bought option. It also requires that you pay better attention to the items you are carrying and why they are in your kit. Of course, you can always purchase a pre-made kit as a base and adjust or add things to fit your needs. Either way, you should know what’s in your kit and how to use it effectively.
Always tailor your first aid kit to your specific needs and your activities. If you have medications that you can’t go long periods without, carry extra with you. If you have severe allergies, add an EpiPen. If you adventure in environments where hypothermia is a risk, carry heat wraps. If you adventure in hot environments, carry electrolytes. The list could go on but the point is to take a minute to think about what your biggest risks are and what items would make it easier to deal with those risks, should you need to.
I highly recommend keeping a list handy with the items and quantity of your kit’s contents noted. This makes it easy to take inventory of your first aid kit and replace anything that might have been used or is missing. Check your kit regularly to make sure it’s stocked and ready to go before you head out. Don’t forget to check the expiry dates on items and replace as needed.
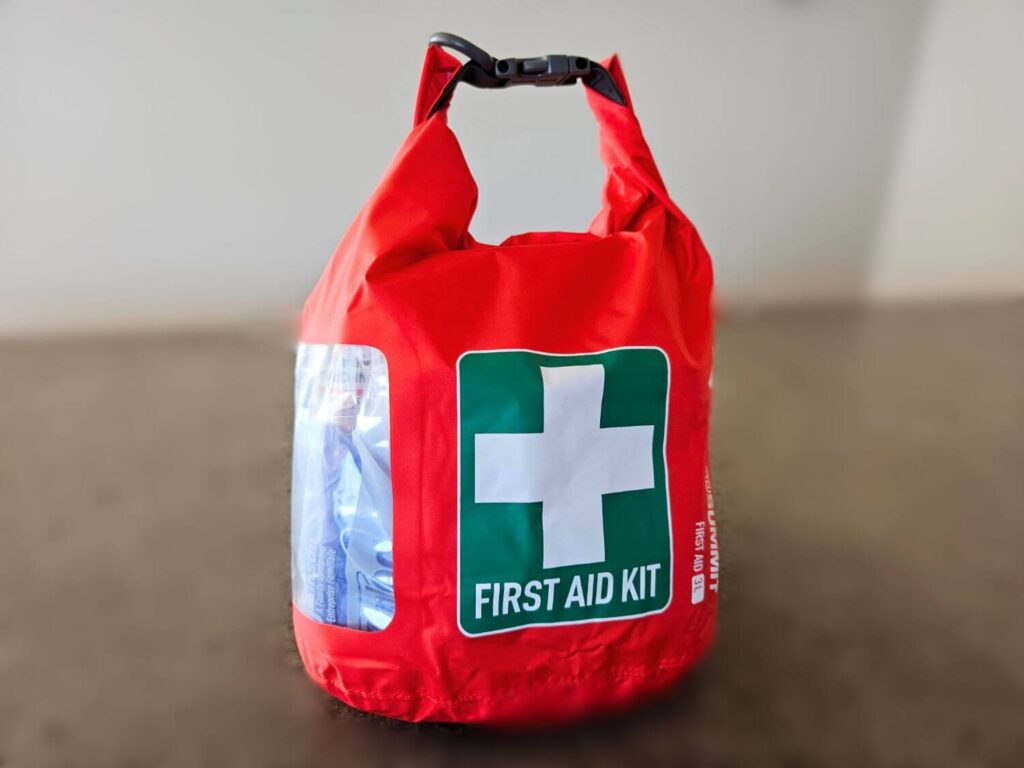
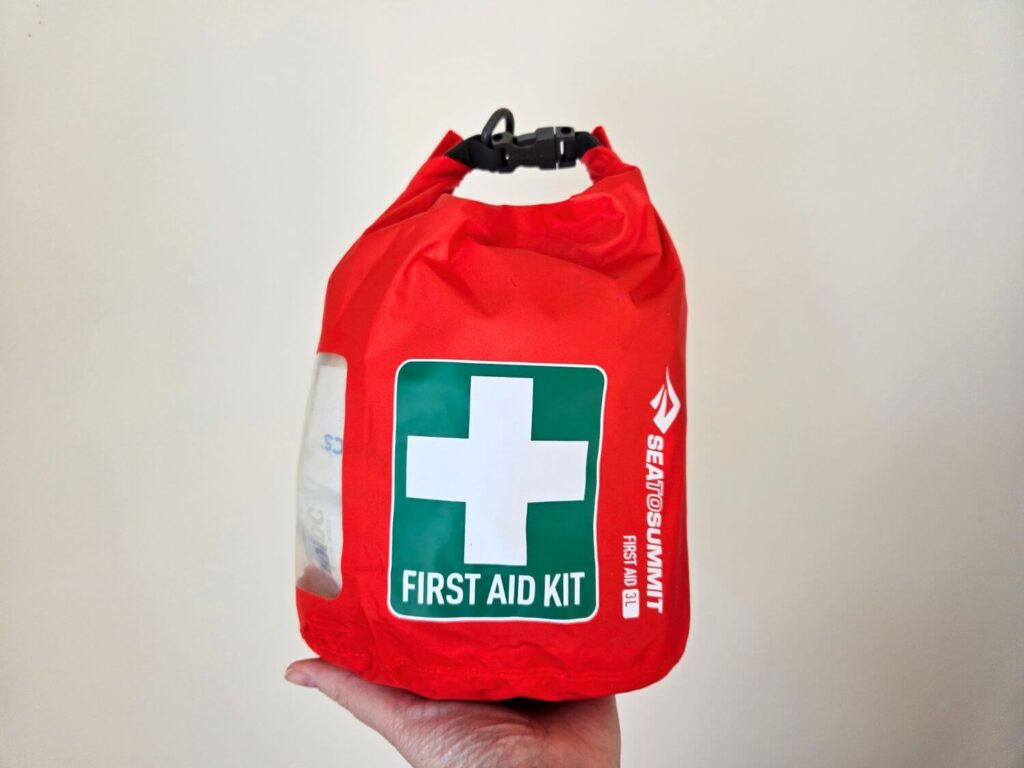
Packing your first aid kit in a waterproof bag is ideal. I find a 3L dry bag to be the perfect size for my kit, with just a bit of extra room to add things like toiletries, my fire-starting kit, and an emergency blanket. Keeping your first aid items in a resealable plastic bag within the dry bag adds an additional layer of protection and keeps everything contained and easy to find.
I use a large freezer bag, which allows lots of room for rummaging around without having to take everything out of the kit, and put that into one of these Sea to Summit First Aid dry bags. The bright, marked bag makes it easy to find and saves digging around in my pack in urgent situations.
HOW TO BUILD AN AFFORDABLE DIY FIRST AID KIT
Building out your own first aid kit can get pricey fast. Most first aid items come in larger quantities and you’ll have to buy a whole box, even if you only need a couple of that particular item in your kit.
To help reduce the cost of building a DIY first aid kit, consider getting together with friends and family for a kit-building party and split the supplies and the cost between multiple people. You could also build out multiple kits for yourself and eliminate the need to buy premade kits for other places you may want them – for example, in your home, vehicle, office, boat, cabin, etc.
Remember, too, that buying larger quantities means you have an inventory on hand to replenish your kit as needed. This is something you’ll have to do even if you purchase a pre-made kit, so spending more up front to build out a DIY kit just means you have the supplies from the get go instead of needing to piece together a replacement inventory later on.
TAKE A WILDERNESS FIRST AID COURSE
Carrying a first aid kit is a given, but having the confidence, knowledge, and skill to use those items and think outside the box will go so much further in real-life scenarios.
To become more confident in your ability to use the contents of your kit and handle an emergency situation, I highly recommend taking a Wilderness or Remote First Aid course. In comparison to a typical first aid course, a wilderness or remote first aid course will focus more on making do with what you have, utilizing common items out of your pack to assist in treating injuries, and help you understand the special challenges that come along with emergency situations in the backcountry.
Taking a course also helps to change your mindset and approach to your time outdoors. Prior to taking a Wilderness First Aid Course, I was not very confident in my abilities to handle an emergency in the backcountry and I held a lot of fear in relation to the risks that inherently come with adventuring outdoors. Now, I am much more likely to make an honest assessment of the risks, run scenarios in my mind of how I might handle an emergency, and have a lot more confidence in my skills and abilities. It made me more prepared and aware, but also less fearful.
If you spend time outdoors often, live in rural or remote areas, or frequent the backcountry, I highly recommend finding a Wilderness or Remote First Aid course near you. You won’t regret it.
If you’re looking to put together a first aid kit for yourself, I hope this article was helpful!
You can find more safety tips for all things outdoors here: