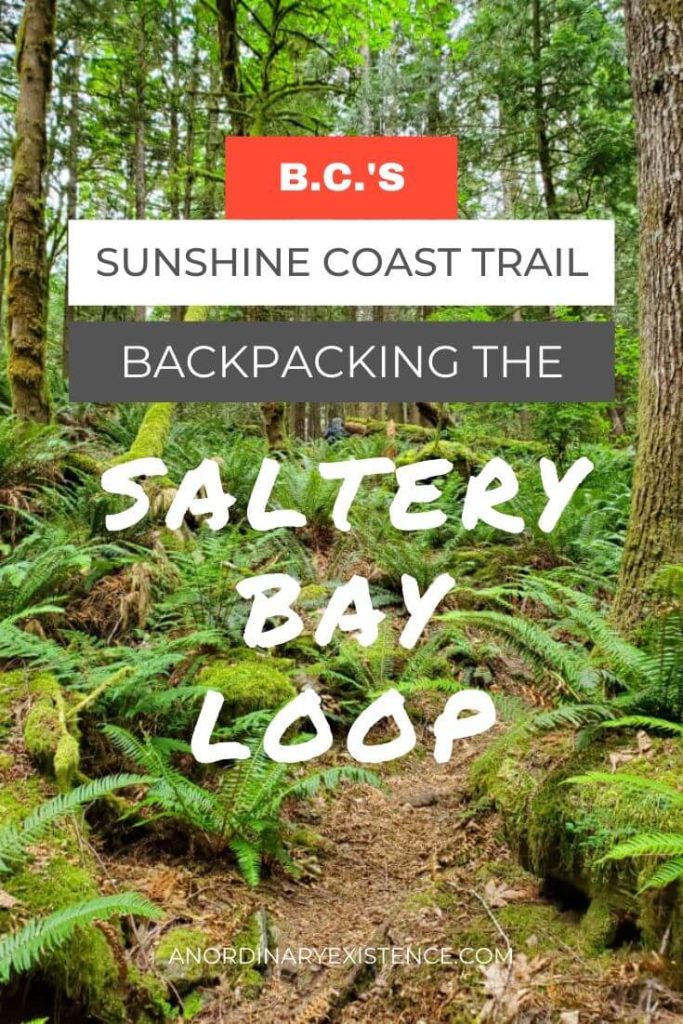
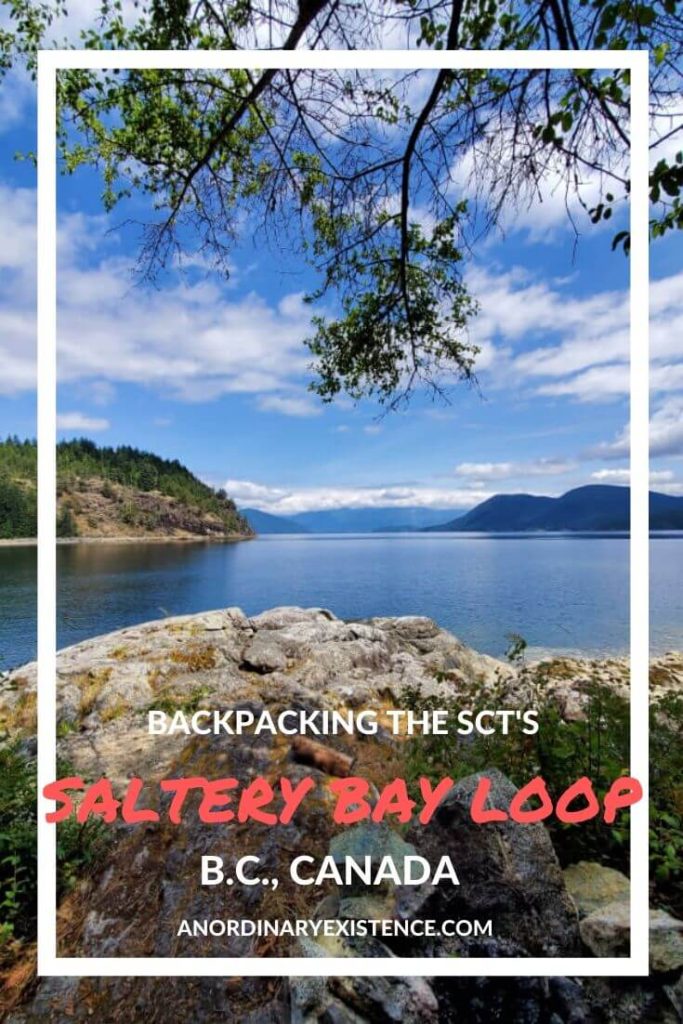
BACKPACKING THE SALTERY BAY LOOP ON THE SUNSHINE COAST TRAIL
The aptly named Sunshine Coast Trail runs 180 km along British Columbia’s Sunshine Coast – from Sarah’s Point in the north to Saltery Bay at the southern end. The SCT offers up fantastic coastal views, wanders along lakes and creeks, climbs mountains, and features rustic huts at multiple points along the way, making it the longest hut-to-hut hike in Canada.
The trail is mostly a remote backcountry experience. It does, however, have many access points that allow hikers who aren’t looking to do the entire trail the opportunity to craft unique itineraries based on time and difficulty.
This post may include affiliate links. As an Amazon Associate I earn from qualifying purchases. Find more info in my privacy policy.
Since we only had a few days to spend on the trail while we road-tripped across Western Canada, we decided to tackle only the Saltery Bay Loop. This section of the SCT utilizes two alternate endings of the trail to form a loop that begins and ends at the Saltery Bay Trailhead.
This was the first backpacking trip we had done with the dogs and neither Mark nor I had sufficiently prepped for any kind of demanding hiking so it was not surprising that we found the trail to be fairly difficult. At the same time, the small section of the SCT that we experienced was exceptionally gorgeous, and we can see why this trail is becoming more and more popular with both day hikers and backpackers alike.
Read on for more details about the trail and to find out how our 3 days backpacking the SCT went…
Why Hike the Saltery Bay Loop?
The Saltery Bay Loop first came on my radar while scanning the Sunshine Coast Trail website as it’s one of the recommended multi-day routes.
This route starts and ends at the Saltery Bay Trailhead, which is the southern terminus of the trail. Hikers can head in either a clockwise or counterclockwise direction. We decided to go in a clockwise direction, which takes you first to Rainy Day Lake and then onto Fairview Bay before returning to the trailhead.
There were a few reasons I settled on hiking the Saltery Bay Loop (when in reality there were plenty of other options for 3-day trips along the SCT):
- The Saltery Bay Loop has a bit of everything – old-growth forest, stunning views of the Jervis Inlet, and beautiful campsites at Rainy Day Lake and Fairview Bay.
- Starting and ending at the trailhead parking lot meant we had a place to leave the van and wouldn’t need to arrange shuttles
- Doing the Saltery Bay Loop over three days made for shorter distances which were suitable for the dogs (and for two out of shape hikers)
As mentioned, we did find this hike to be rather challenging as the trail goes up, up, up to Rainy Day Lake and then down, down, down to Fairview Bay. I was a little surprised by the steepness of the trail and how rugged it was, with plenty of rocks and roots just waiting to trip up a hiker who loses focus. But I am glad we chose this section, and I think it gave us an excellent taste of what the SCT offers.
If you’re looking for a mildly challenging but rewarding hike, the Saltery Bay Loop is a great option.
The Saltery Bay Loop Day by Day
Below you will find a day-by-day account of our time on the SCT. Distances are approximate as there were a few discrepancies in the information in the Sunshine Coast Trail Hut-to-Hut Hiking guidebook I used, so I had to do a bit of guesstimating.
I’ve included the time it took us to complete each leg as well, but keep in mind that we were hiking at a slower pace than average due to the dogs and our lack of cardiovascular fitness (ha!). I’ve also included the names of the individual trail sections we used each day, as this is how the guidebook divides up the larger SCT into parts.
Day 1: Saltery Bay Trailhead to Rainy Day Lake
Distance: approximately 10km
Time: 5 hrs, 20 mins
Trail sections: Saltery Bay Trail + part of the Rainy Day Lake Trail
We parked the van at the Saltery Bay trailhead parking lot (located not far off Highway 101 – turn left just before the ferry terminal), loaded up, snapped a few obligatory trailhead photos under the kiosk, and headed out.
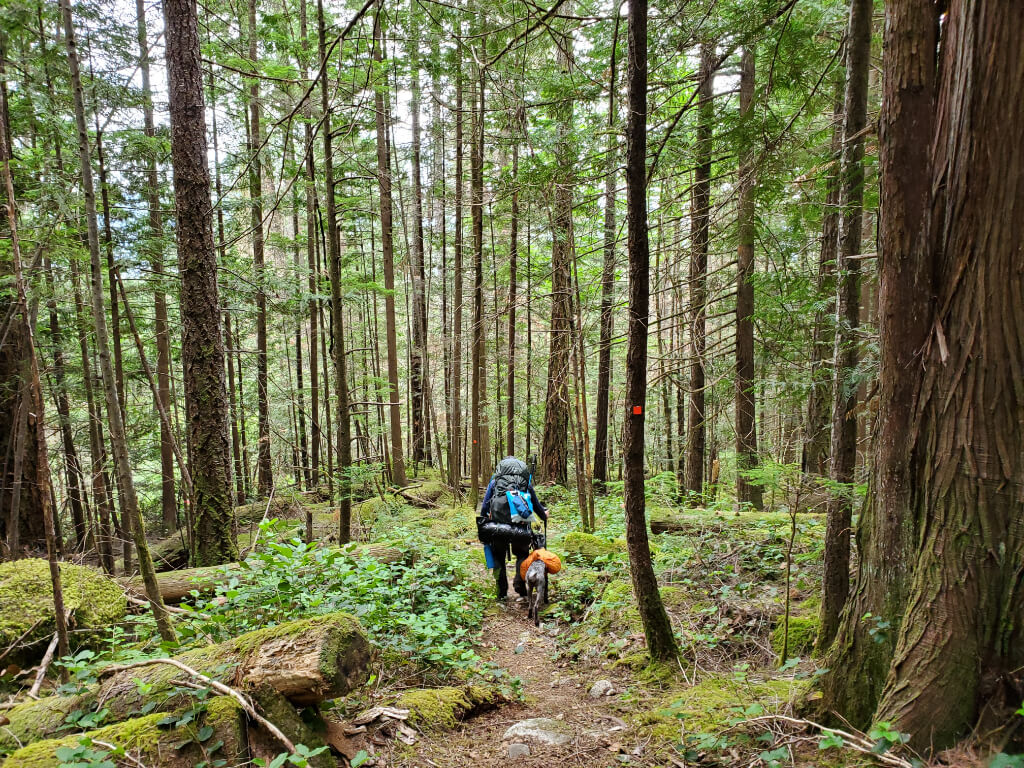
We were maybe half an hour into the hike when we realized we had lost the trail in a thick shrubby area. After consulting the guidebook, backtracking a bit, and doing some bushwhacking down a steep slope, we managed to find the red blazes which mark the trail. It was a little unnerving to go off-trail that early on, but happily, that was the last time we had an issue – the trail is very well-marked for the most part.
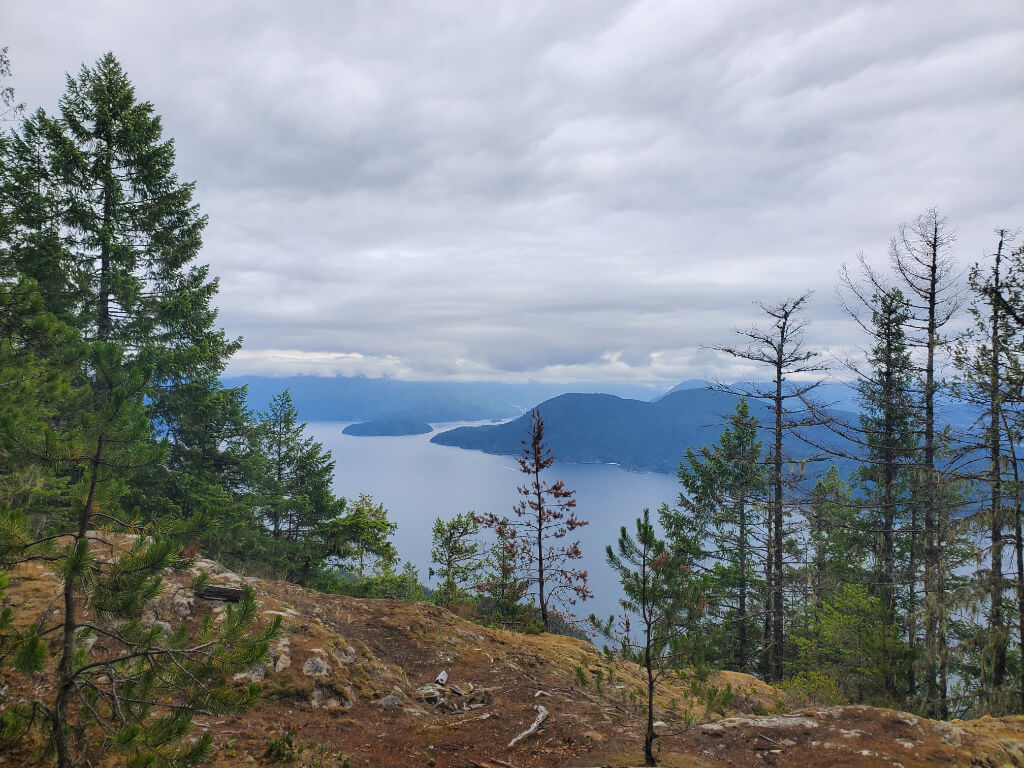
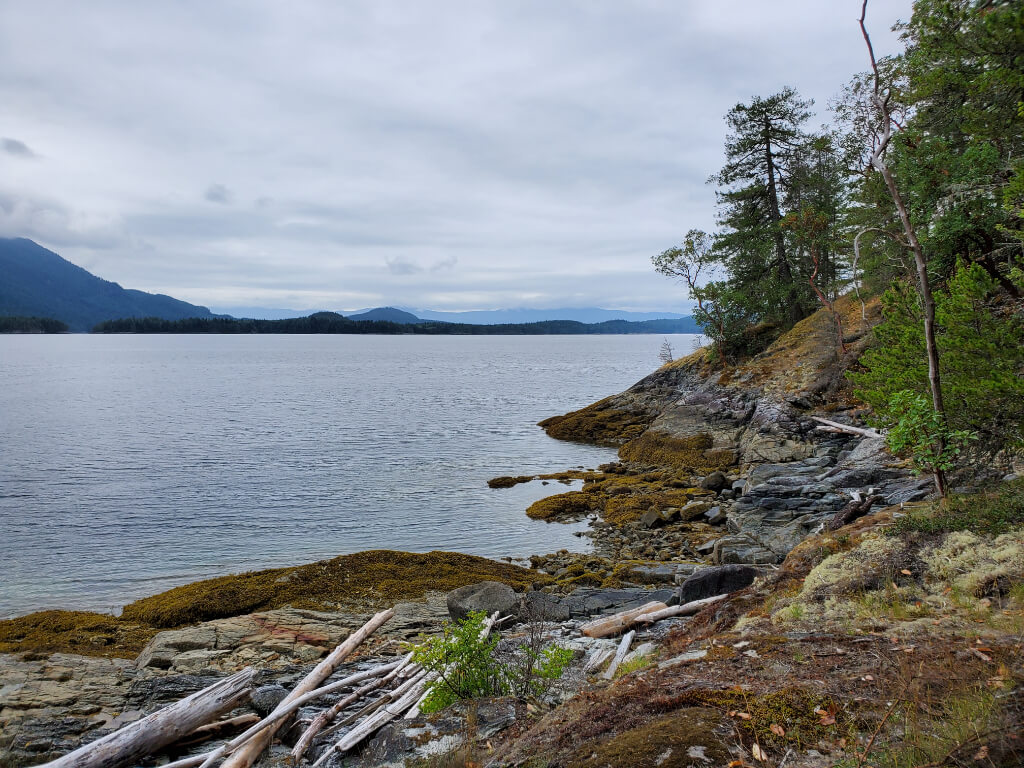
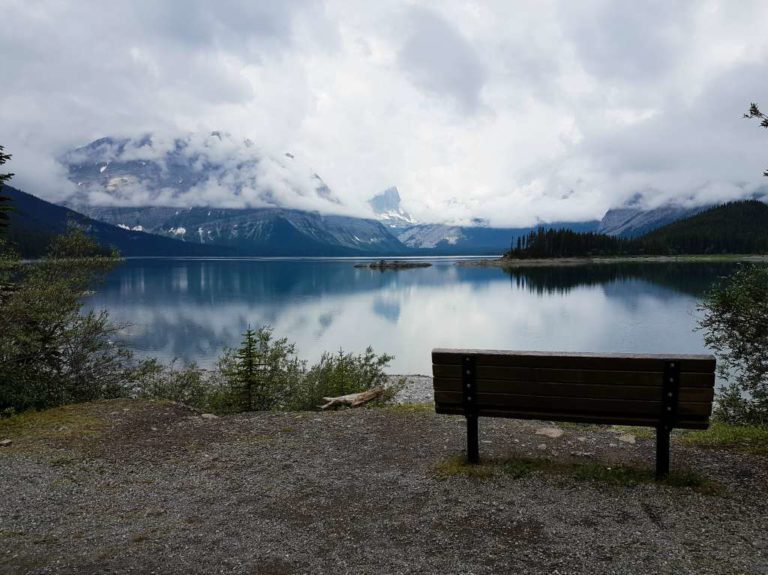
After getting ourselves back on course, we continued to make our way up (up, up, up) to Rainy Day Lake. The trail was quite steep and rugged with plenty of roots and rocks to look out for, but it was also some of the best and most beautiful forest hiking I’ve done. The stands of old-growth trees are magnificent. We were treated with views out over the Jervis Inlet once we reached Blue Grouse Ridge, where we took a break and rested our already-sore muscles.
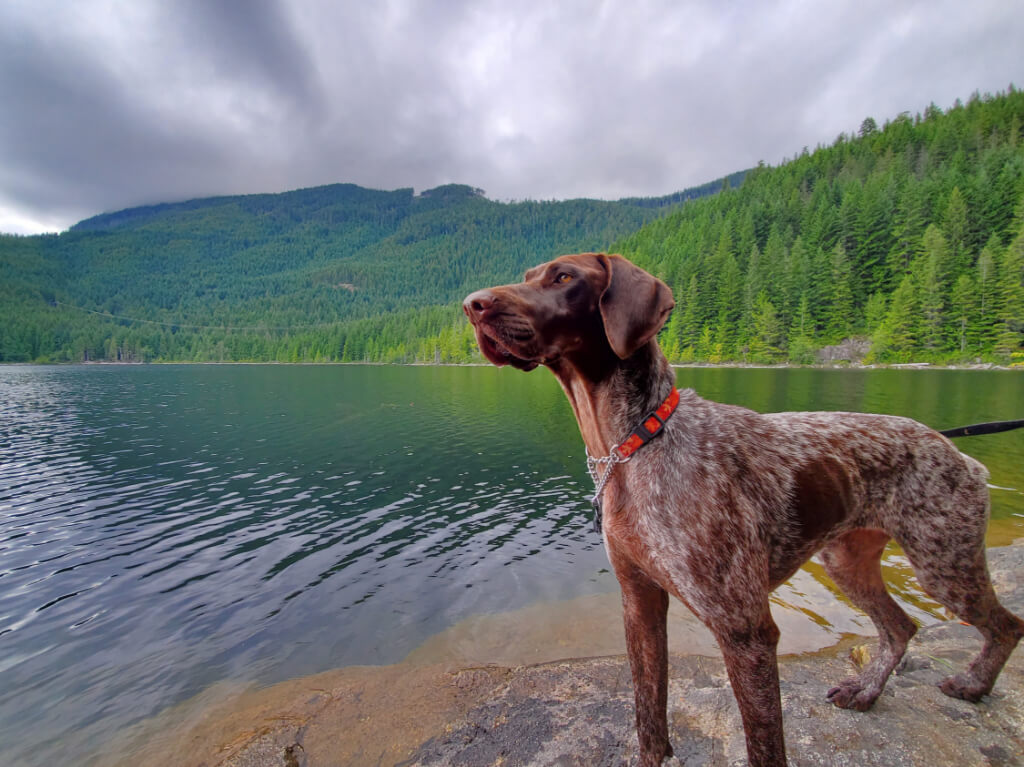
Dogs aren’t allowed in the huts along the SCT, so we had our tent along. Once we reached the junction between the Saltery Bay and Rainy Day Lake trails, we had to choose where we were camping for the night. There is a tenting area closer to the south end of the lake, but it is very rustic and not the most scenic. We decided to continue along the Rainy Day lake Trail to the camping area at the base of the Rainy Day Lake Hut. It was a good decision. The camping area was surrounded by gorgeous trees and had a picnic table, firepit, and outhouse nearby. A short side trail led down to the lake where we filtered water, let the dogs explore a bit, and took in the views.
Other than a couple we met down at the lake, who were staying in the hut that night, we did not see anyone else on the trail the entire day. We set up camp, cooked dinner, found a spot to hang our food, and tried to spend the evening relaxing while the dogs whined incessantly (apparently they don’t like it when they’re not moving).
Day 2: Rainy Day Lake to Fairview Bay
Distance: Approximately 3km
Time: 2 hrs, 45 mins
Trail section: Fairview Bay Trail – from Rainy Day Lake Trail junction to Fairview Bay Hut
We had a lazy morning and a late start since we knew we didn’t have a lot of miles to make. The staff at the Powell River visitor’s center had advised us to stock up on water at Rainy Day Lake as the stream near Fairview Bay could be dry at this time of year. We filtered what we could and filled every bottle, bladder, and bag we had with us. The extra water weight made an already challenging day for us even harder.
The trail from Rainy Day Lake toward Fairview Bay starts out heading upwards but then quickly turns into a steep and never-ending downhill. The combination of heavy packs and dogs tied to our waists made this section even harder. We met quite a few groups of people heading up from Fairview Bay, and it was nice to stop and chat, even though this slowed us down even more. One group was kind enough to advise us to use the provided Rubbermaid container in the hut at Fairview to keep our food out of the grasp of the many mice that inhabit the area.
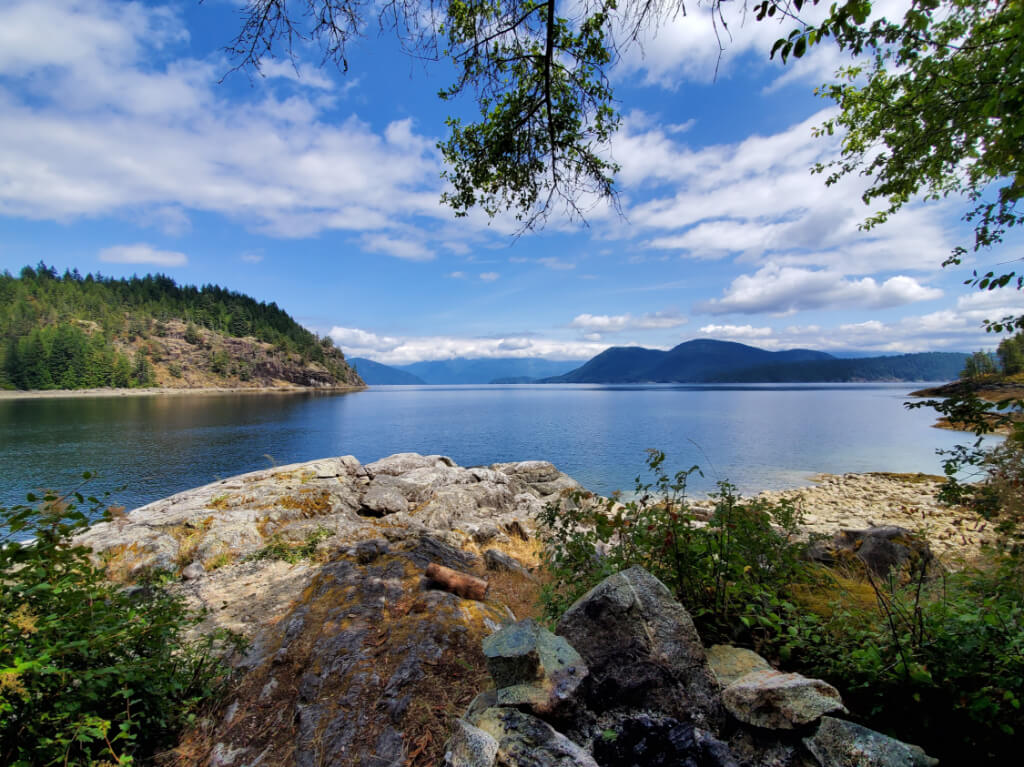
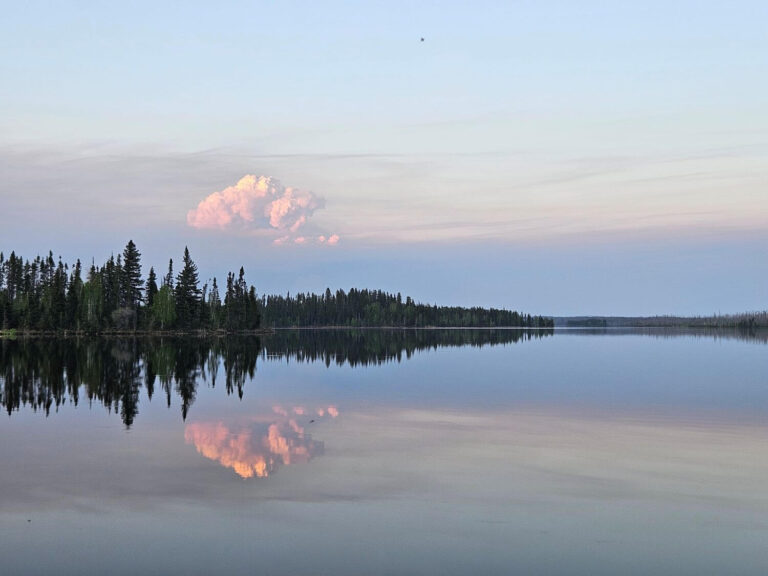
We took a break where the SCT crosses over a logging road and were pleasantly surprised to find the trail levelled out a tiny bit from that point on. Upon arriving at Fairview Bay, the views quickly washed away any of the stress from the trail. The tide was out when we arrived, so we walked the beach and let the dogs play in the water for a while before setting up camp. I can’t say I’ve had a better view from the door of my tent than looking out over the bay.
Having met so many people along the trail coming out of Fairview Bay throughout the day, I was sure we would have a more crowded hut/camping situation for the night. To our surprise, there was only one other couple and their dog staying there, and we had plenty of room to spread out and enjoy some peace and quiet. I was also glad to be able to snag a spot for our dry bags in the Rubbermaid container as we saw several mice scurrying through the bushes near our tent shortly after setting up camp.
Another lazy evening of cooking, resting, and sitting around the fire was the perfect end to the day.
Day 3: Fairview Bay to Saltery Bay Trailhead
Distance: approximately 7km
Time: 3 hrs, 50 mins
Trail section: Fairview Bay Trail – from Fairview Bay Hut to Saltery Bay Trailhead parking lot
According to the guidebook, this section should have only taken about two hours. It took us nearly four. By this last day on the trail, we were tired, sore, and starting to lose our patience a bit. As a consolation, we were treated to more spectacular forest hiking, many sweeping views out over the inlet, and plenty of Arbutus trees to admire.
There were a few relatively flat (ish) sections of trail on this stretch but plenty of ups and downs to keep us huffing and puffing. “The Escalator” was a particularly steep section of trail (anytime trail builders feel the need to name a section, you know you’re in for it) where 100 vertical meters are descended (or ascended if coming from the other direction). Luckily, the chute is made passable by a series of quad-burning switchbacks, which mark the end of the most challenging inclines.
After that, it was a straight shot to the trailhead parking lot. At least, we made it there after taking a wrong spur and consulting the guidebook one last time. The van was safe and sound, just as we had left it. After drinking in the sweet feeling of dropping our packs for the final time, we hopped in the van and headed off.
Mark was determined to find a bakery for a post-hike celebratory treat, but a quick drive around the sleepy town of Saltery Bay left us certain that we would be limited to ferry terminal vending machines if we wanted anything other than our 3-day old trail mix (which I may or may not have already picked all the m&ms out of). Lucky for us, there happened to be a food truck set up not far from the ferry terminal line. The gourmet grilled cheese sandwiches, iced hibiscus tea, and ice cream treats were just what we needed to cap off our three days on the trail.
Overall, we found the Saltery Bay Loop to be a great combination of rugged and challenging trail, beautiful views, and well-maintained facilities. I would certainly do this hike again and look forward to returning to do other sections of the SCT in the future.
Things to Note when Hiking the Sunshine Coast Trail
Cell service is spotty along the trail. We both had our phones along, and Mark was able to get service at Fairview Bay. I left mine on airplane mode to conserve battery as I was using my phone as my camera for this trip.
Water is not necessarily available everywhere. The guidebook does mention locations of water sources, but some of these are seasonal. I suggest hikers check in with the Powell River Visitor’s Center before heading out as they can provide current info on available water sources.
The huts along the SCT are basic structures with communal areas for cooking and sleeping. For the most part, huts are spaced at distances that can be done in a day. Theoretically, you could do the entire SCT as a hut-to-hut hike. They are first-come, first-served, so if you are hiking a particularly busy section of the trail, it may be worth it to bring a tent along in case the hut is full when you arrive. Camping areas and picnic tables are available nearby the huts. Dogs are not allowed in huts.
Outhouses are available at the hut/camping areas. Bring your own toilet paper.
No fees or permits are required to hike the SCT. Campsites and huts are first come, first served. If you’d like to contribute to the maintenance of the trail, you can purchase the Sunshine Coast Trail Hut-to-Hut Hiking guidebook, buy an SCT Passport pack, or make a donation to PRPAWS (the organization that maintains the trail).
Maps of the trail are available at the Powell River Visitor Center. The staff there was very helpful and happy to answer all my questions.
The trail is well marked for the most part, but we did go off trail once and found ourselves referencing the guidebook frequently. I highly recommend carrying a copy of the guidebook along with you on the trail.
Resources
Sunshine Coast Trail Hut-to-Hut Hiking guidebook
Backpacking Manzanita Bluff and Riveley’s Pond on the Sunshine Coast Trail by Happiest Outdoors
Sunshine Coast Trail articles from Hike, Bike, Travel

Hello! We are hoping to do this hike this week? Did you do it recently or did you just make this blog post recently? We are just trying to gain some insight on weather and snow conditions. Thanks!
Hi Erin, we did this hike last summer and just posted the article recently. For current conditions, I’d check in with the Powell River Tourist Info Center. Best of luck and enjoy your hike!
Hi Laura, thanks for this great post! I was wondering if you camped right beside the Fairview Bay hut? I’m trying to plan for the hut being either closed or full and wondering if there are lots of free space nearby. (I’ve tried researching from looking at photos but haven’t had much luck!) Thanks for your help!
Hi Sonia,
We weren’t right beside hut but out in front a bit. We found a small tent spot closer to the water, near the fire ring and bench on the point. Even though the area is mostly treed and/or rocky, there are other areas in the vicinity of the hut where you can camp as well. If I remember correctly, there was a communal fire pit area right near the hut with room for a tent or two. Another couple pitched their tent off to the side a bit, but within easy reach of the hut. Hope that helps! Let me know if you’d like more info, I can dig through my photos and see if I can find some that show the area a little better.
Thanks for the quick reply, Laura! That’s super helpful. It sounds like we’ll be fine based on what you said! Appreciate your help 🙂