A COMPLETE GUIDE TO INCUBATING AND HATCHING QUAIL EGGS
Incubating and hatching quail eggs can be a fun and exciting process. It can also be a great way to establish, grow, or replenish a covey of quail.
After incubating and hatching multiple batches of Coturnix quail eggs, I thought I’d compile the tips, tricks, and knowledge I’ve learned through our experiences to help you achieve the best hatch rates and have a brooder full of fluffy little quail chicks of your own.
This post may include affiliate links. As an Amazon Associate I earn from qualifying purchases. Find more info in my privacy policy.
If you’re planning to incubate and hatch your own quail eggs, read on for a complete guide to the process.
WHAT TYPE OF QUAIL EGGS TO HATCH
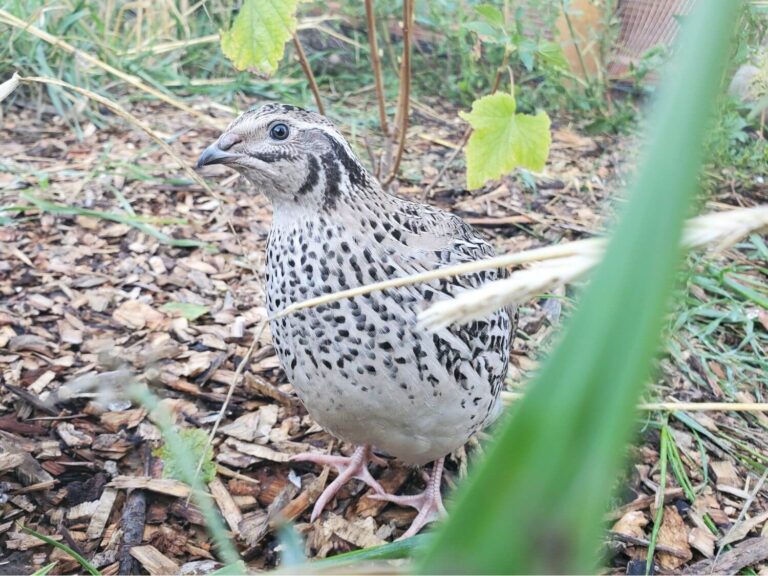
The type of quail eggs you choose to hatch will be based on the type of flock you’re looking to build. Bobwhite, California, and Coturnix quail are all popular species raised for meat, eggs, and bird dog training.
Personally, I recommend starting with Coturnix quail. Coturnix quail are typically the most domesticated and easiest to handle. They take approximately 18 days to incubate and hatch.
Within the Coturnix world, you’ll find a wide array of feather colours to choose from, as well as Celadon quail who lay beautiful blue-hued eggs. You also have the option of jumbo coturnix quail for a larger bird.
I suggest doing some research and deciding on the type of quail that best fits your situation and preferences before sourcing quail eggs to hatch.
SOURCING QUAIL EGGS TO HATCH
When it comes to sourcing fertile quail eggs for hatching, you basically have two options: purchasing fertile eggs from a supplier or collecting fertile eggs from your existing flock (if you have one).
PURCHASING FERTILE HATCHING EGGS
Quail are becoming more and more popular as a backyard bird option which means it is much easier to source fertile hatching eggs than it once was.
Check local marketplace websites or relevant online groups to find local quail egg suppliers. There are also many suppliers who will ship fertile quail eggs if you are unable to find what you’re looking for locally.
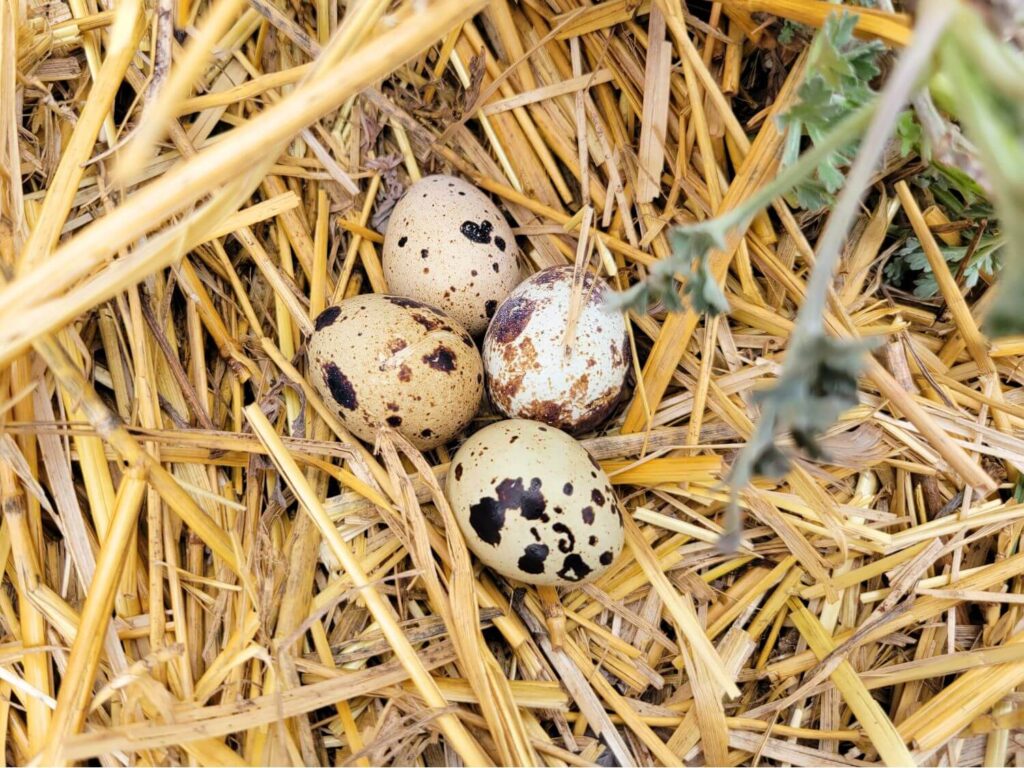
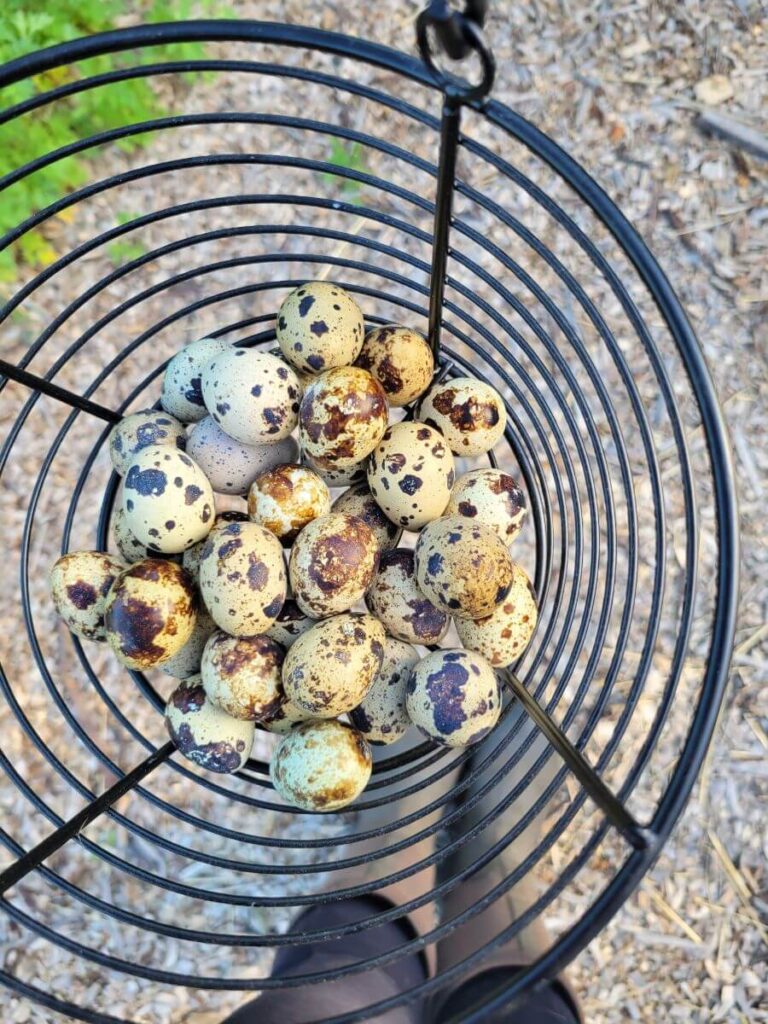
COLLECTING FERTILE HATCHING EGGS
If you currently have a covey of quail with an appropriate male-to-female ratio for fertilization (1 male for every 4-6 females) you also have the option of collecting and saving eggs for hatching.
Collecting your own eggs for hatching has benefits as you know the genetics and health history of your existing birds, it avoids shipping or transporting eggs which can negatively affect the hatch rate, and you don’t have to search around to find a supplier of fertile eggs.
If going this route, there are a few tips and tricks to help ensure the best hatch rate possible.
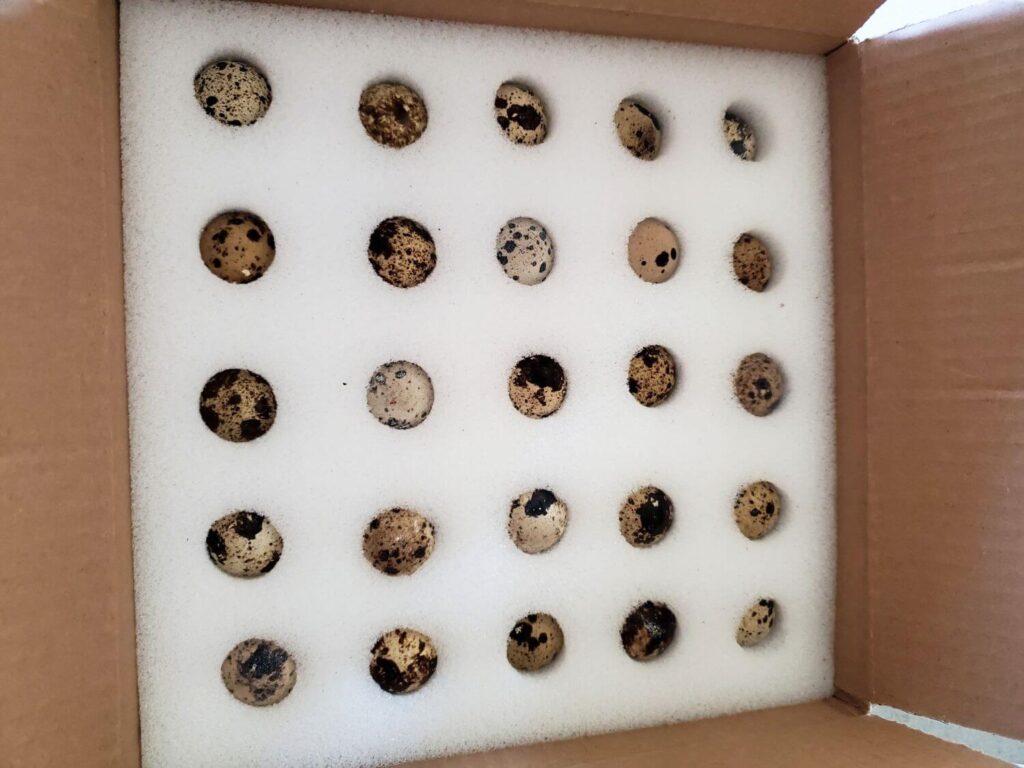
- Choose eggs that are clean, uniform in size and shape, and have healthy-looking shells.
- Avoid eggs that are exceptionally dirty, misshapen, or have thin, weak shells.
- Do not wash the eggs. This will keep the protective bloom intact.
- Eggs can be stored for up to 5-7 days before hatching however, it is ideal to incubate the freshest eggs possible. Mark them with the date they were collected to keep track.
- Store eggs in a cool location and out of direct sunlight but do not store them in the fridge as it is too cold and dry. Ideal storage temperature is between 8-12C/45-55F but they can be kept at slightly warmer temperatures, if needed. Remember that they may begin to develop at temps over 21C/70F so keep them cooler than that.
- Store the eggs pointy side down to maintain the air sack in the large end of the egg.
- Gently reposition the eggs multiple times per day. A good way to do this is to prop one end of the carton up with an object. Move the object to different areas of the carton throughout the day.
- Move the eggs to a room temperature space 24 hours before setting in the incubator to avoid placing cold eggs in a pre-warmed incubator.
EXPECTED HATCH RATE FOR QUAIL EGGS
When incubating and hatching quail eggs that you collected yourself or sourced locally, a 75-80% hatch rate can typically be expected.
For eggs that were shipped or transported over long distances, you can expect closer to a 50% hatch rate.
Take these numbers into account when deciding how many eggs to hatch out and increase the number of eggs you set to make up for the expected losses.
Of course, the hatch rate can vary depending on number of factors, for better or worse. I’ve had well-packaged shipped eggs hatch out at a 70%+ success rate and I’ve had a batch hatch out at a disappointing 15% hatch rate due to a faulty incubator.
Things that can negatively affect the hatch rate include:
- Shipping or rough handling.
- Improper egg storage conditions.
- Poor fertility rates.
- The age of the eggs.
- Improper temperature or humidity levels during incubation.
EQUIPMENT NEEDED FOR INCUBATING AND HATCHING QUAIL EGGS
The equipment you’ll need for incubating and hatching quail eggs is actually quite minimal and simple. The most important things you’ll need are an incubator and a secondary thermometer/hygrometer or two.
There are a number of other items that you’ll need for brooding and caring for your new quail chicks once they’re hatched. You can find a full overview of that process and everything you need here: A Complete Guide to Brooding Quail Chicks
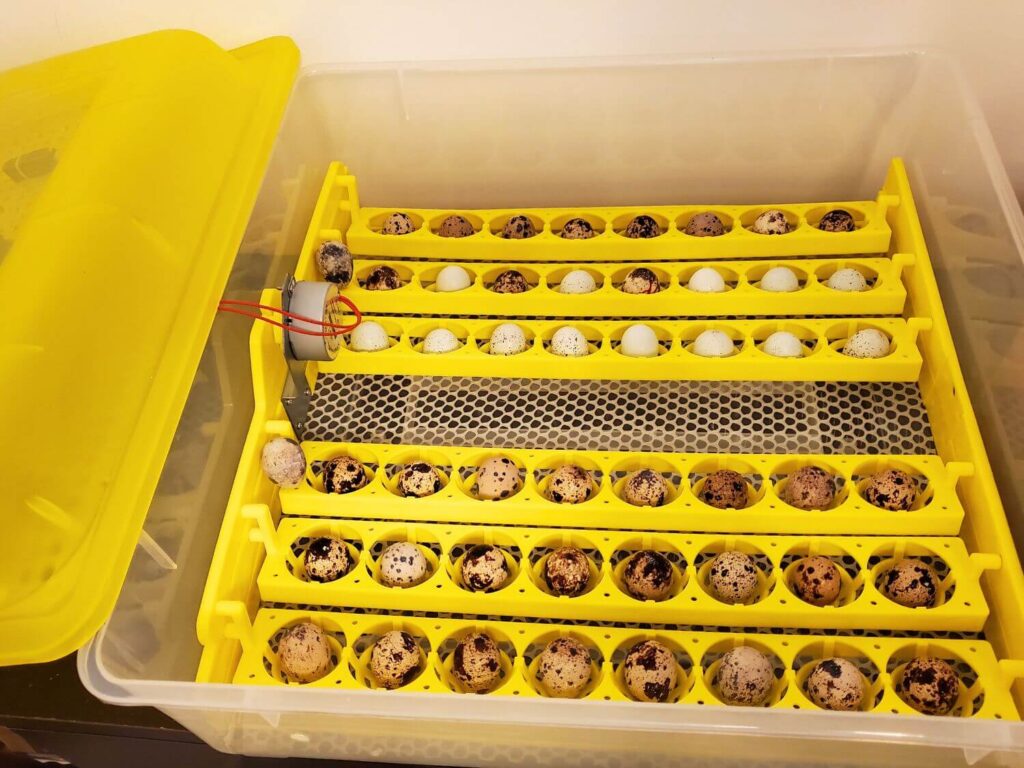
INCUBATOR
There are an endless number of quail egg incubators on the market. They vary in size, style, and features. When shopping for an incubator for quail eggs, look for one that meets your needs and preferences for the type and number of eggs you’re looking to hatch.
Some of the features I would highly suggest you opt for include:
- Removable egg racks that can accommodate the size of quail eggs.
- An automatic turner.
- Adjustable vents.
- A fan to circulate air.
- A water reservoir.
- See through material, so you can keep an eye on everything without having to open the incubator.
Keep in mind that every incubator will have quirks and things that don’t work quite as expected. The important thing is not so much the specific incubator you choose, but that you take the time to test and get to know the incubator prior to setting eggs.
We have a relatively inexpensive, no name incubator we got through a wholesale sell off store. It certainly isn’t perfect, but we’ve gotten to know how it works and have successfully hatched an number of batches of quail eggs in it.
If you’re looking for a higher end incubator, Brinsea and Borotto come as highly-recommended brands.
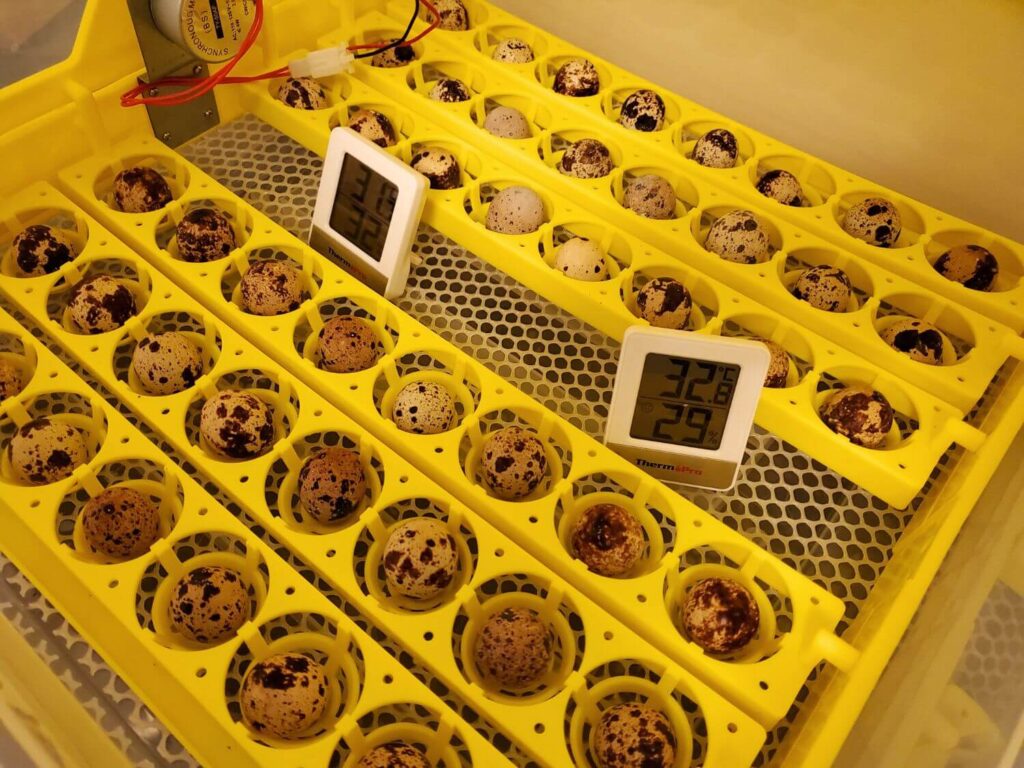
THERMOMETER-HYGROMETERS
Because incubators can be quirky and at times unreliable, I highly recommend getting a couple of combination thermometer-hygrometers to place inside the incubator. These will provide a secondary reading of the temperature and humidity levels to ensure you have everything correct even if your incubator sensors are not working properly.
The first time I ever hatched quail eggs, I failed to use backup thermometer-hygrometers and ended up with that abysmal 15% hatch rate I mentioned earlier. After testing the temperature and humidity levels, I realized that the sensors on the incubator were way off and I had to drastically adjust my settings to get the correct levels. Since then, I have successfully hatched multiple batches in the same incubator with much higher hatch rates.
If I could name one “must-do” when hatching eggs, it’s to use backup thermometer-hygrometers in your incubator. I currently use the ThermoPro TP49 and place a couple of them in different areas of the incubator to get multiple readings.
QUAIL EGG CANDLER
The purpose of candling eggs is to help monitor the fertility and development of an egg. It also allows you to remove non-viable eggs to avoid having these rot and explode inside the incubator.
Due to their dark, thick shells, quail eggs can be quite difficult to candle. In researching prior to hatching our first batch, it seemed that many do not bother candling quail eggs.
We have successfully hatched multiple batches of quail eggs without candling and have not had any issues or rotten egg explosions (as of yet, it could certainly happen).
We did try candling the eggs during our first hatch but were not able to see anything at all. We were simply using a regular flashlight, which may have been the issue. I’ve had my eye on this egg candler which has an attachment for smaller eggs and may be more effective in candling quail eggs than methods we’ve tried before.
HOW TO INCUBATE AND HATCH QUAIL EGGS STEP BY STEP
Now that you’ve got your eggs and your equipment, you’re ready to incubate and hatch your quail eggs! I’ll walk you through the incubation and hatching process step by step.
QUICK REFERENCE:
- Temperature should be 37.5C/99.5F through the entire incubation and hatching process.
- Humidity should be 45-50% for days 1-14; then increased to 65-70% for day 15 through to the end of hatching.
- Eggs are turned day 1 through 14 (either manually at least 3x per day or with an auto-turner); eggs are not turned day 15 through to the end of hatching.
STEP 1: PREPARE THE INCUBATOR
As I mentioned, you’ll always want to test your incubator prior to setting the eggs. Even if you are familiar with your incubator, set it up and get it going at least 24 hours prior adding the eggs.
This will give your incubator time to come up to temp, allow you to ensure that you have the correct temperature and humidity levels, and to check that everything is functioning properly.
Place the egg racks and thermometer-hygrometers inside the incubator. Add water to the reservoir and turn on the machine.
You want the incubator to be at 37.5C/99.5F with around a 50% humidity level when you set the eggs.
Place the incubator in a location that is out of direct sunlight, away from drafts, and in a place that it will not be disturbed by pets or people.
I highly recommend you grab a notebook and pen to have next to the incubator to jot down notes throughout the process. This can help you troubleshoot issues, keep track of how things went, and have lessons learned handy for the next time.
STEP 2: PREPARE THE EGGS
If you have collected and stored eggs for hatching, move them to an area where they can come up to room temperature about 24 hours prior to putting them in the incubator.
If you had eggs shipped to you, open the packaging and check the condition of the eggs. Discard any that are cracked. Allow them to rest, pointy side down for 24 hours at room temperature prior to putting them in the incubator.
STEP 3: DAY 1 – SET THE EGGS
Once the incubator has reached ideal temperature and humidity levels and your eggs have rested for 24 hours, you are ready to set the eggs.
Gently place the eggs in the incubator. Some models will require the eggs to lay flat on their side. If your incubator has racks that hold the eggs upright, be sure to place them pointy side down.
STEP 4: DAYS 2-14
The first two weeks of the incubation process is mostly just monitoring and waiting.
Keep an eye on the temperature and humidity using the thermometer-hygrometers. Adjust the settings on the incubator, add or remove water from the reservoir, and/or adjust the vents as needed to maintain that 37.5C/99.5F temp and around 45-50% humidity.
As mentioned, most incubators have quirks and issues so don’t panic if you need to make adjustments to maintain ideal levels. Try not to open the lid on the incubator unless you absolutely have to. This will help avoid drastic swings in temperature and humidity.
During this period, be sure to have the automatic egg turner function turned on. If your incubator does not have an auto-turn function, you’ll need to manually turn the eggs at least 3 times per day.
If you’re attempting to candle your quail eggs, this can be done around day 7 as the embryos should be large enough to see at this point.
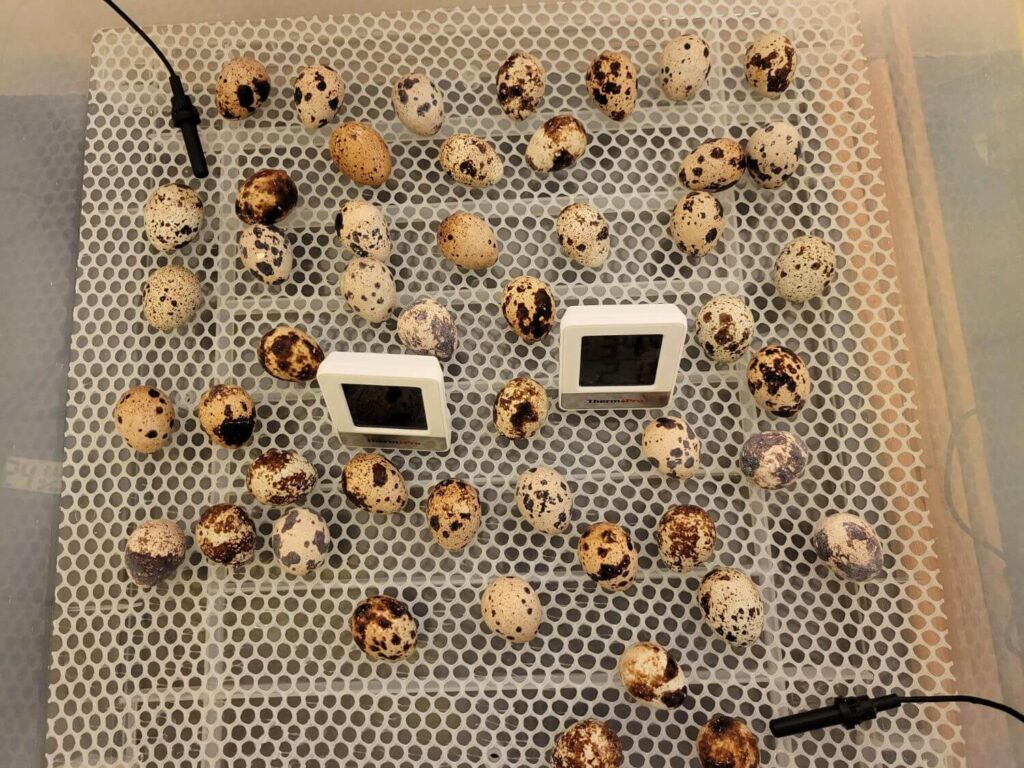
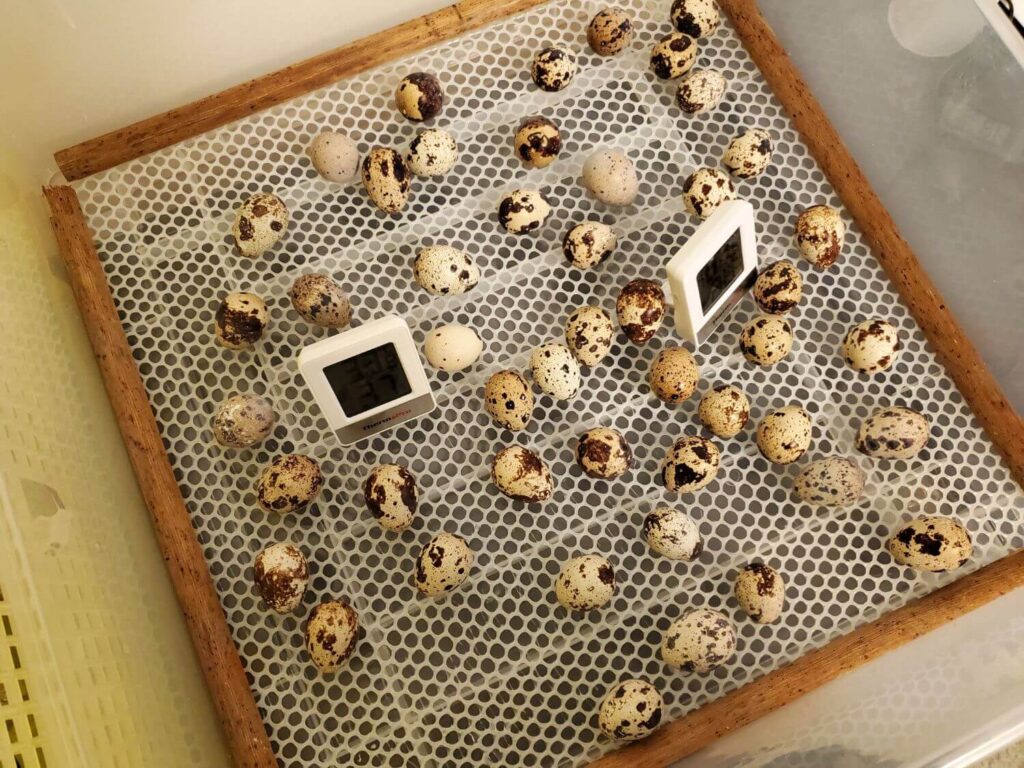
STEP 5: DAY 15 – LOCKDOWN DAY
Day 15 is also known as lockdown day. This is the point where you’ll stop turning the eggs and let them rest before hatching begins.
If your incubator has removable racks, take them out and gently place the eggs flat on the bottom of the incubator.
If candling, you can also do that on day 15 and discard any eggs that have failed to develop.
Ideally, the incubator will have some sort of textured bottom that will help the chicks grip once hatched. If your incubator does not have this, consider adding a grippy mat to the bottom of the incubator at this point.
Day 15 is also when you want to increase the humidity level to 65-70%. Depending on the incubator, this can be achieved by adding more water, partially blocking off the vents, or even adding a wet sponge or cloth.
Leave the thermometer-hygrometers inside the incubator to continue monitoring temp and humidity levels. The temperature should be maintained at 37.5C/99.5F.
STEP 6: DAYS 16-17
Days 16 and 17 are mostly a waiting game. Continue to monitor and adjust as needed to maintain the temperature and humidity levels at 37.5C/99.5F and 65-70%.
Drastic swings in temperature and humidity are especially damaging at this point so resist the urge to open the incubator.
Although quail eggs typically hatch on day 18, this can vary by a day or two on either side. You may start to see action during days 16 and 17.
Quail chicks hatch by “pipping” a hole in the egg and then “zipping” the large end of the egg open before emerging. This pip and zip process may happen very quickly or could be drawn out over a long period of time. If you see an egg has pipped and then nothing is happening, resist the urge to “help” the chick out. They are most healthy and hardy when they are able to hatch on their own.
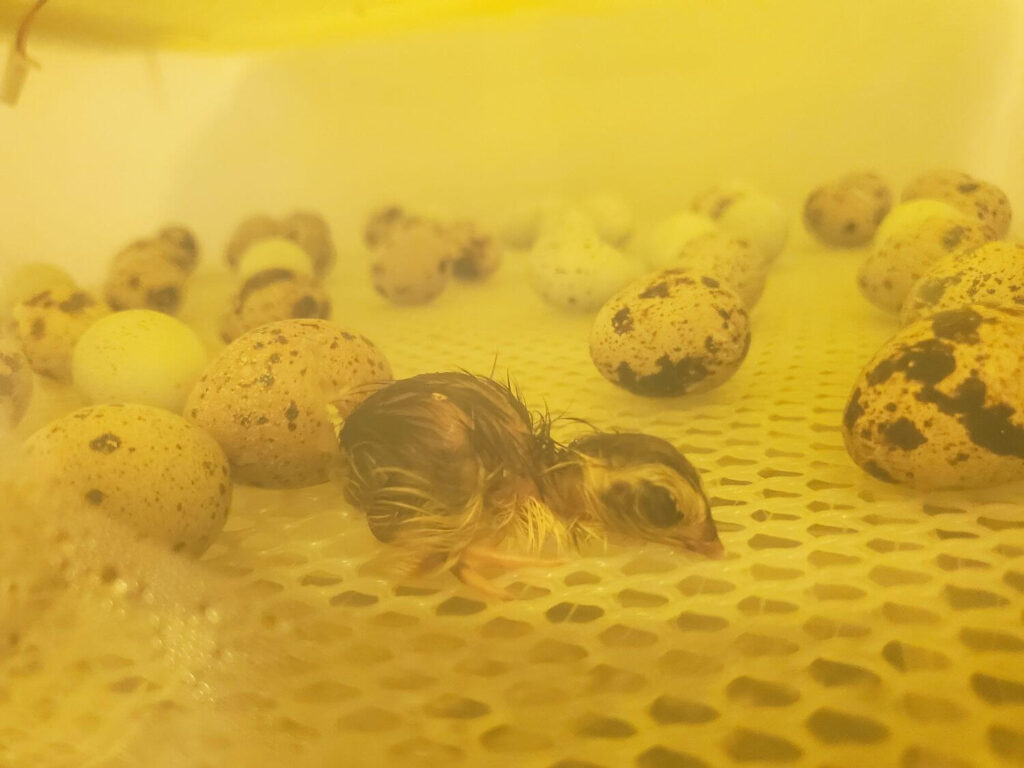
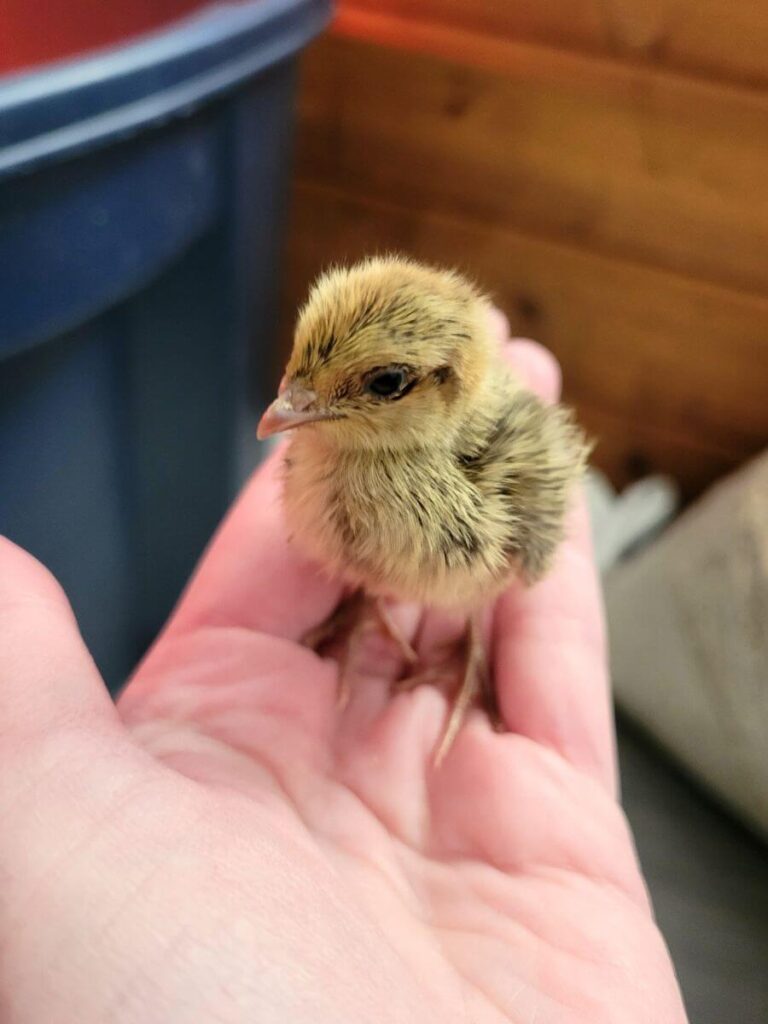
STEP 7: DAY 18 AND BEYOND – HATCH DAY(S)
Day 18 is when you’ll likely see the most hatching occur. It’s quite entertaining to watch them pip and zip their shells, emerge, and start bopping around the incubator!
During the hatching period, leave the chicks in the incubator with the lid on for around 12-24 hours or until they are dry and fluffy. At that point, you can open the incubator quickly to remove the dry chicks and move them to their brooder. You’ll likely have to do this in a few batches, as not all the eggs will hatch at the same time.
As mentioned, hatching can spread across multiple days at go beyond the day 18 mark. I tend to leave the eggs in the incubator until there has been no sign of hatching for at least 12 hours. At that point, you can turn off the incubator and discard any eggs that did not hatch.
STEP 8: CLEAN UP
Once hatching is complete and the chicks have been moved to the brooder, it’s time to turn off the incubator, allow it to cool, and clean it thoroughly.
You’ll want to check the manufacturer’s directions for your particular unit and be sure to clean and sanitize it as soon as possible. Allow all parts to dry completely and store everything away until your next hatching.
And that’s it! I hope this guide was helpful in your hatching process.
If everything went well, you should have a brooder full of cute and noisy little fluff balls. Check out my Complete Guide to Brooding Quail Chicks for everything you need to know about raising those little babies through to adulthood.
If you’re looking for more quail resources, check out my other posts here:
EVEYRTHING YOU NEED TO KNOW ABOUT RAISING QUAIL
RAISING COTURNIX QUAIL FOR MEAT


This was very helpful thank you!!
I came to your blog by chance and for knowledge of Quails and such a bonus this blog afforded!
I actually like to paint birds / and their eggs in my sketchbook and that was the reason for my search!
Thank you so much for such expanded version!
Hi! Any chance to continue the article with the temperatures from brooder?
I am loosing in spades my baby quails. Temperature is set to 34 C. I have organic quality food and no idea why thry are dying daily. Thank you!
You can find more info for the brooding process in my Guide to Brooding Quail Chicks article. 34C should be a good temp for their first week in the brooder, but make sure you are measuring the temperature at the level where the chicks are (not at the top of the brooder). They also should have enough space to move to cooler areas to regulate temp as needed. Drastic swings in temp can also cause issues so if you have them somewhere that they may be exposed to a draft or drops in temp at night that could be an issue. Quail chicks are pretty fragile and there are a number of reasons they may be dying but hopefully the article will help you troubleshoot and get it sorted out.
Very good guide to quail incubation. Thank you.
Fantastic and so comprehensive, thank you.
Good evening, I have just receive 12 quail coturnix quail, 9female 3male, am getting plenty of eggs. I would like to get an incubator and start breeding birds or meat. I would be grateful for any information in relation to the best incubator and information to what other necessary gear to be successful in the breeding. Many thanks for any information Cheers Les
Where can I buy a thermometer/hydrometer for my iubator
Hi Paul, I have linked to the one I use in the post above. There are a number of different models available on Amazon. You may also be able to find them at a local hardware store or garden center.