PUTTING PERMACULTURE PLANS INTO ACTION: OUR PHASE ONE EXAMPLE
As much as it stresses me out, our default setting around here seems to be a state of chaos. Despite my affinity for a false sense of control and obsessive plan-making, we tend to dive in headfirst, start seven things at once, and learn as we go.
This spring was no different, and we have been busy little bees on the acreage.
This post may include affiliate links. As an Amazon Associate I earn from qualifying purchases. Find more info in my privacy policy.
READ MORE: WHAT IS PERMACULTURE?
Most of our focus has been on implementing the permaculture design I’ve been working on for the past two years.
The plan is to convert our seven acres into a little food-producing haven complete with forest gardens, annual growing beds, natural ponds, and pockets of native habitat.
This, of course, won’t happen overnight, and this year we’re focused on implementing the first phase.
When I first started learning about permaculture, I found it interesting to see what others had done and how. So, I thought I’d share a quick recap on phase one – where we’re at, what we’re doing, and a bit about the why behind it.
THE DESIGN
While permaculture often appears to be a set of gardening techniques, it’s really a design science.
It’s about placing elements in a way that will allow for efficient, resilient, and sustainable interactions to occur between them. It involves a lot of observation, consideration, and re-evaluation.
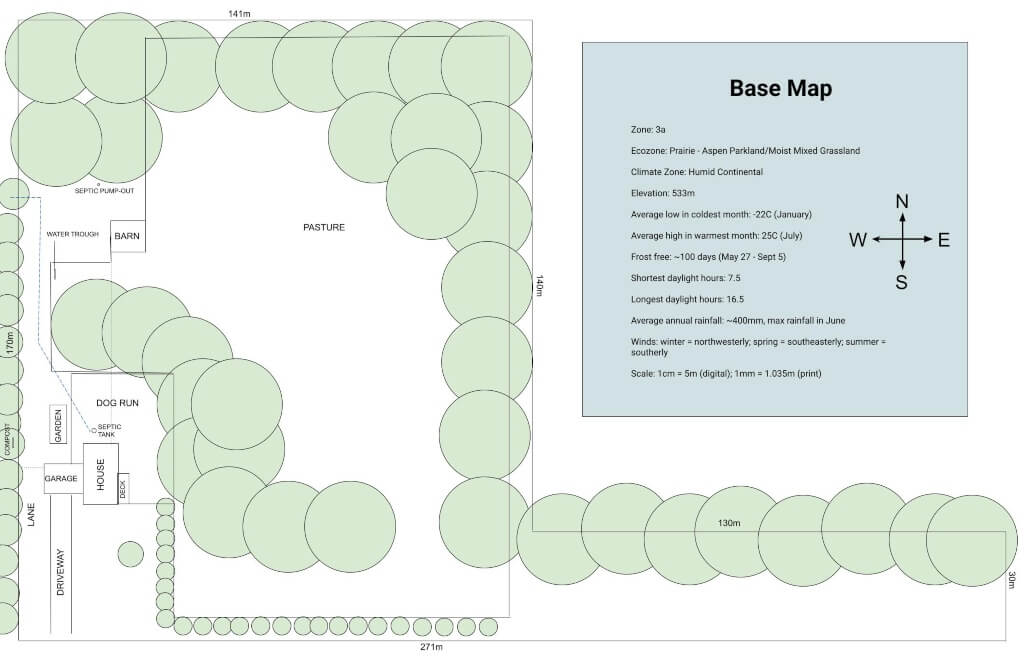
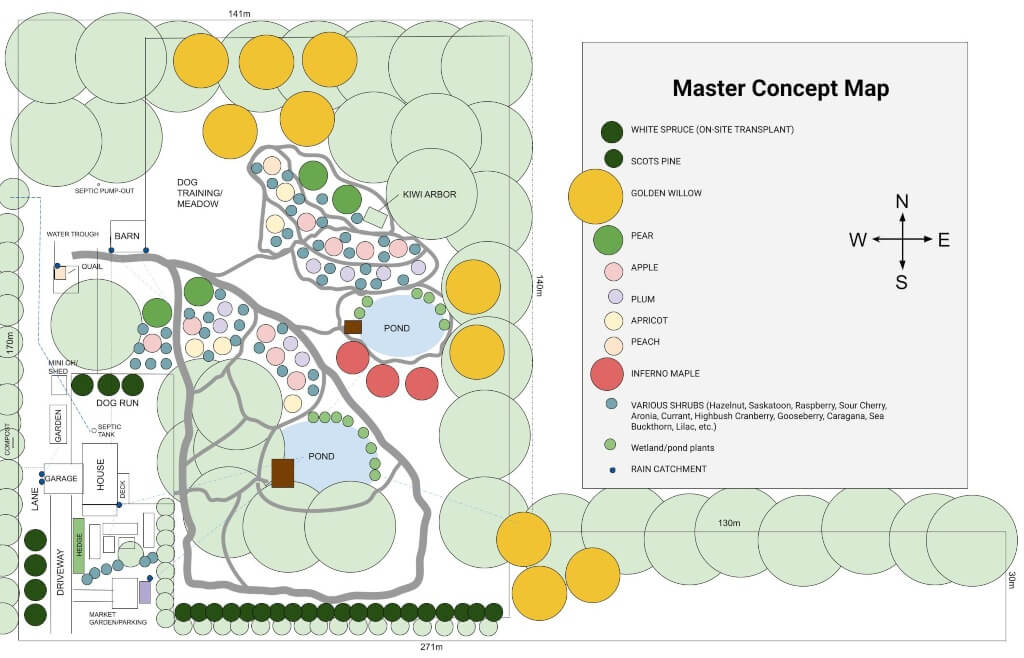
I plan to share more on how I tackled the design process as a permaculture newbie in a future post. For now, I thought I’d share a quick shot of the base map (where we’re starting) and master-concept map (where we’re going) as it stands at the moment.
I expect this to change drastically as we begin to implement, get feedback, and learn. But this is the general, big picture idea we’ve got in the works.
THE PHASES
I’ve seen some permaculture designs with seriously detailed and organized phase plans laid out. They have every element and step broken down into neat little buckets to be put into place throughout multiple seasons.
My design is not one of these.
In fact, deciding where to start has been one of the most challenging parts of this permaculture approach. As I mentioned, I’ve been working on the design for some time now.
Even before that, I took the oft-cited advice to observe the land for a full year after moving here.
This involved a lot of notetaking and watching things like how water flowed through the land, where and when the sun hits, weather patterns, and learning as much about the existing plants, wildlife, and soil types as I could. From all that came the design.
Now, it’s time to put it into action.
But, aside from getting a large-scale picture of what needs to happen before other things can fall into place, I’ve decided to avoid locking myself into a defined long-term phase plan.
Instead, I’m allowing some room for trial, error, and the inevitable revamping that will come with this learning process.
So, while I can’t tell you what will happen five years from now, I can tell you what we’re doing at the moment in our Phase One. This has been spread out over the 2020 and 2021 spring/summer/fall seasons.
To help me decide where exactly we should be starting, I relied heavily on the concepts of zones and scale of permanence.
PERMACULTURE ZONES
In permaculture, Zones 0-5 represent areas that are categorized based on the level of interaction one has with them.
These will vary from site to site and person to person but often range from Zone 0 being yourself (all day, every day interaction) to Zone 5 being natural/wilderness areas (occasional or non-existent interaction).
As far as helping you determine where to start, it makes sense to focus on the lower-numbered zones (0-3) first, as this is where you will be spending the majority of your time and will likely require the most observation and interaction from you.
This could include your self, your home and the areas immediately around it, and further out elements like livestock, kitchen gardens, and forest gardens.
SCALE OF PERMANENCE
Scale of permanence (SOP) was initially developed by PA Yeomans and refers to ranking elements regarding how difficult or time-consuming they are to change.
For example, climate and geology are extremely difficult/slow to change (i.e. they are permanent); roadways, structures, and landform are mid-range on the time/difficulty scale (i.e. they are semi-permanent); and fences, soils, and plants are easier to change (i.e. not permanent).
Within these categories can also be ranges.
For example, a tomato plant that lives out its lifecycle and production in a single season would not have the same scale of permanence as an oak tree, which could take 35 years to mature and live for hundreds of years.
There have been many iterations of SOP developed over the years that incorporate elements other than those on Yeoman’s original list. For my purposes, I try to factor in SOP by mentally ranking elements on a scale of 1-10 – 1 being permanent, 10 being highly changeable.
For using scale of permanence to help inform what to implement in which phase, it’s ideal to start working on the long, slow-to-change elements, as these form the backbone around which all other aspects are designed.
Of course, there are no hard and fast rules, and there will be significant overlap in both zones and scale of permanence as you work through your design. They are simply tools that can help organize your thoughts and force you to consider all factors before diving in.
OUR PHASE ONE
In all honesty, our Phase One is better described as experimentation as opposed to implementation.
We’ll be testing out various methods and techniques, finding what works best for the site, and altering our overall design as we learn.
I’ve done a ton of reading and research. Still, it really comes down to trial and error to figure out what works best for your particular situation.
For our Phase One, we decided to focus on the following:
Fencing (Zones 2-5; SOP 6)
Quail (Zone 1; SOP 6-10)
Earthworks in the initial forest garden (Zone 3, SOP 5)
Slower-to-establish plants (trees and shrubs) (Zones 2-4, SOP 7)
Short-term yields (annual gardens) (Zone 1, SOP 10)
Maintenance and utilization of existing resources (Zones 1-5, SOP 5-10)
Below is a quick breakdown of each area, including what, when, how, and why we’re doing what we’re doing. For any permie beginners out there, I hope this will give you a glimpse into how these elements fit into our overall design and why we’re including them in Phase One.
FENCING
What: Improve/repair existing barbed wire pasture fence line with 5′ high, 2×4 welded wire fencing.
When: Spring 2021, after snowmelt but before vegetation growth would make it difficult to access the fence line.
Why: Our main motivations behind erecting the fence are to 1) keep the dogs in and 2) keep the deer out.
Once the horses were no longer in the pasture, we had A LOT of deer and moose in the yard who will likely decimate everything we plant. Since deer can jump eight feet high, a five-foot fence may not be quite enough.
Our hope is that adding the barrier before they know the plants are there will help minimize their motivation to jump the fence and redirect their travel patterns to stay within the Zone 5 areas on the exterior of the fence line.
We’ll still have to monitor their activity and possibly make modifications if necessary at least until the trees are well established and can handle a little nibbling every now and then.
How: This was no small task as the pasture consists of about four acres of land.
Mark He-Manned his way through this one and, over the course of three days, managed to clear the downed trees and brush from the fence line, replace rotten fence posts, reinforce the line with t-posts, and hang 1600′ of fencing. It was an impressive feat of endurance.
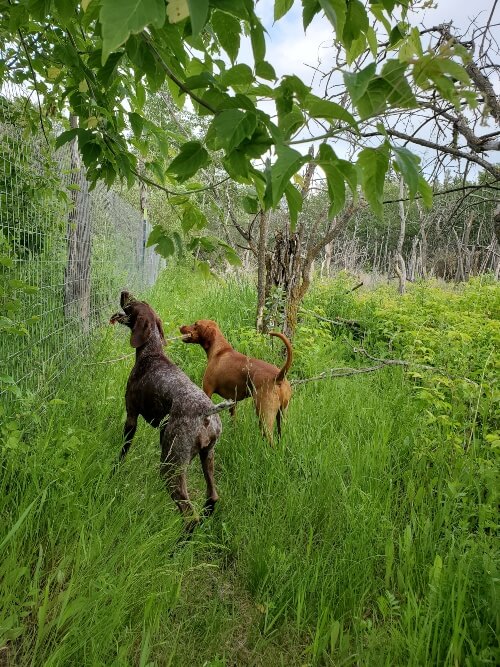
We are now enjoying a nice big area where the dogs can run and sniff to their hearts’ content. It’s been about three months since the fence was erected. We have had deer jump the fence a couple of times, but they generally stay away and have not found the fruit trees quite yet.
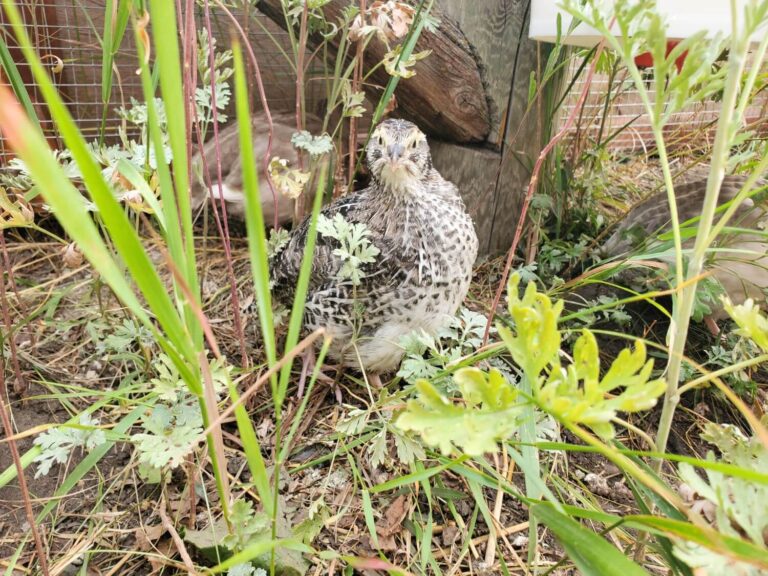
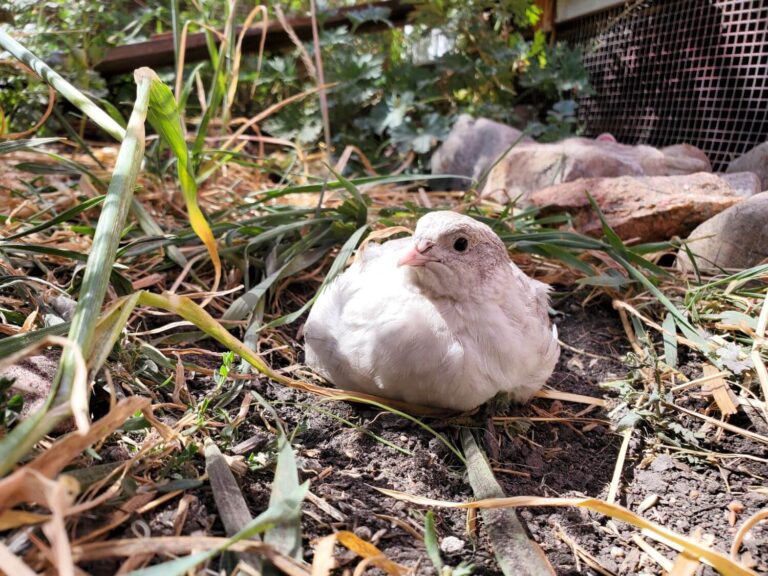
QUAIL
What: Introduce quail to the acreage.
When: Spring 2021.
Why: Quail are a great addition to a permaculture design. They provide a source of meat and eggs. Their manure and bedding can be used for compost. They can be used for pest control in garden beds via quail tractors.
They’re smaller and quieter than chickens, use less feed, and are more efficient at converting that feed into meat and egg yields.
For us, an additional benefit of quail is that they can be used to train our pointers. We really don’t have a reason NOT to include quail in our design.
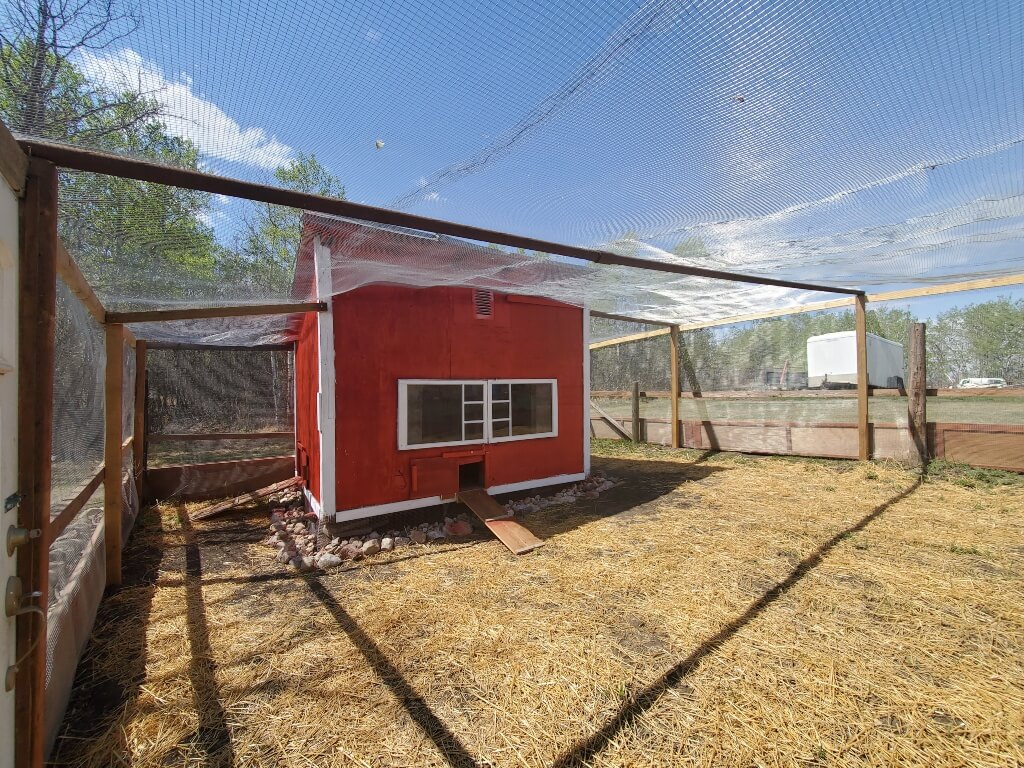
How: Setting up a quail system can be as easy as getting your hands on a rabbit hutch, buying a few birds, and – voila – you’re done.
Our setup is slightly more elaborate and multi-faceted.
I wanted the birds to have an as-close-to-natural habitat as possible, which meant they needed an outdoor on-ground run. This is also necessary for birds you plan to use for dog training as they need to develop their ability to fly.
For the coop, Mark moved an old outbuilding from my parent’s yard and cleaned, repaired, and painted it.
It was placed over existing power and water lines from an automatic water trough we had removed. Mark used that to DIY a water system that should (in theory) require very little upkeep on our part.
Mark built the run using some of the existing fence posts, some additional lumber, a few things we had around the yard, and ½” hardware cloth.
I planted out a mix of grasses and groundcovers that the quail can forage for. We also added currant and raspberry bushes and a dwarf spruce tree to provide them shade, hiding spots, and forage.
Mark converted a damaged dog kennel into a covered dust bath and used our old countertops to build a no-waste feeder.
We decided to hatch out a batch of eggs rather than buying adult birds. This meant we had to purchase and set up an incubator as well as brooders.
For the brooders, we converted 150L plastic tubs by cutting out a portion of the lid and replacing it with hardware cloth. Quail waterers, wood shavings, heat lamps, and thermometers completed the brooder setup.
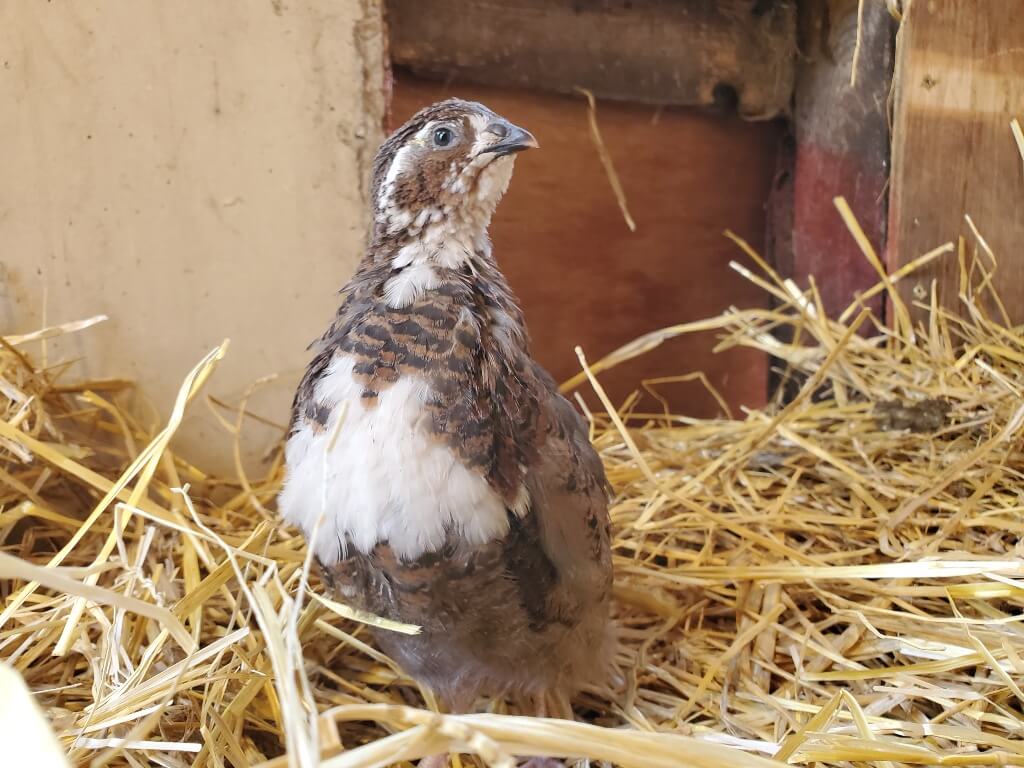
We sourced a mix of 48 fertile Coturnix eggs from Breezy Bird Farms. I made the unfortunate mistake of not testing the incubator with a backup thermometer beforehand, and a faulty sensor left us with a very poor hatch rate. Out of the 48 eggs, we only had 8 hatch out.
They are now 4 weeks old and happily enjoying their outdoor pen. We just set another batch of eggs now that I seem to have the incubator figured out and hope to see a much better result from this second round.
In future phases, we plan to build quail tractors and potentially expand.
EARTHWORKS
What: Establishing a system of swales and berms in the initial forest garden site.
When: Spring 2021, after snowmelt and once the ground is dry enough.
Why: We live in a semi-arid area of the prairies, so water management is key. I want to catch and store water in the soil as much as possible and have a source of passive irrigation for our plants.
The site I chose for the initial forest garden experiment is located on a gently sloping south/southwest facing hill, which happens to be one of the highest points of the property.
After much research, I decided that a swale and berm system would be ideal for the site. This will help us prevent erosion on the slope, passively irrigate our plants, and slow, sink and store water high on the site.
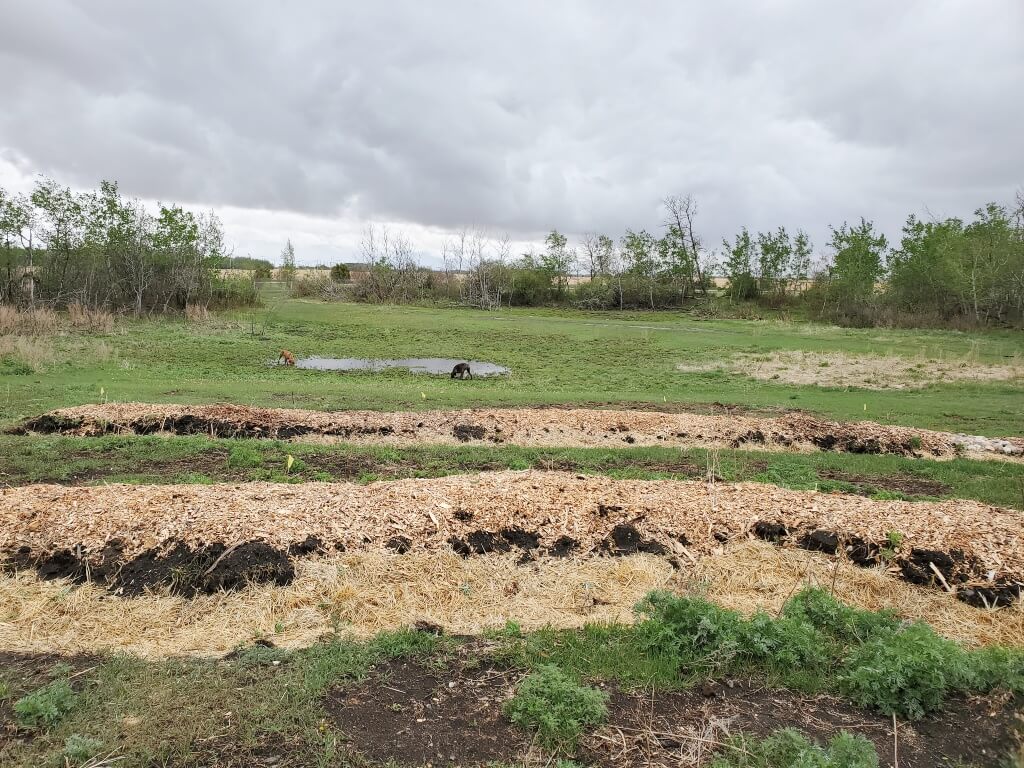
How: After much reading, measuring, calculating, and re-calculating, I settled on four swales of various lengths on two separate elevations. Their capacity ranges from 550L to 2250L and are designed to withstand our 100-year rainfall events.
We started by marking the contour lines using a transit and survey flags. I had initially planned to hand-dig all 56m/184′ of swale length. But when Mark happened to have a bobcat on the yard for other projects, I jumped at the chance to turn a months-long job into one that could be done in a couple of hours.
Mark used the bucket to dig out the swale, place the soil on the downhill side of the swale, and shape the berms as much as possible. The final shaping and levelling of the berms and swales was done by hand.
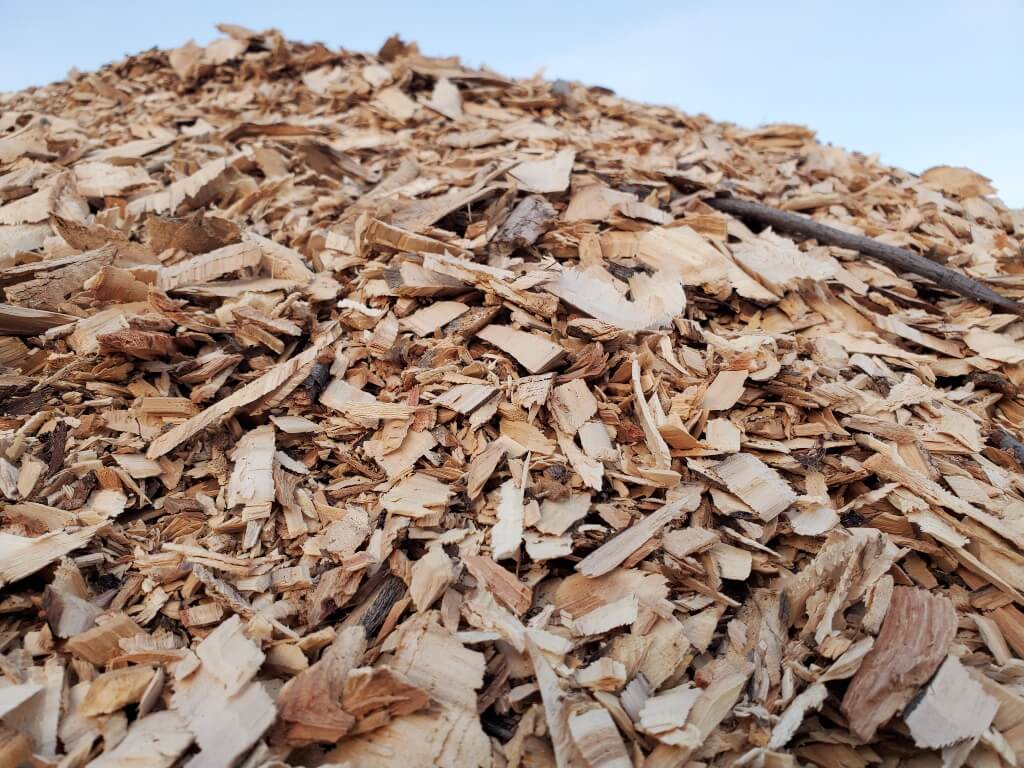
We then placed 4-6 inches of woodchip mulch on the berms and mulched the swales with straw.
We haven’t had much of a chance to test the swales yet, as we have a bit of a drought happening here this spring. I can say, though, that the woodchips have made a significant difference.
Even after weeks of no rain, high temperatures, and strong winds, there was still moisture in the soil under the mulch.
In future phases, we will be implementing more earthworks, including the digging of 2-3 ponds in existing low/wet areas, another swale and berm system in a future food forest area, and the building up of access roads/pathways.
Ideally, we would have done all of this lower-SOP work before anything else, but time, resources, and priorities have resulted in us spreading it out. Basically, we’re staring at the top and working our way down.
TREES AND SHRUBS
What: Planting slower-to-establish elements like shelterbelt trees, fruit trees, and shrubs.
When: Late spring 2021.
Why: Obtaining a yield is an essential principle of permaculture and gaining some self-reliance is a big motivator for us.
Obviously, having a perennial food source at our fingertips is appealing and why trees and shrubs that produce edible products are such a big part of our design. I’m also intrigued by the idea of forest gardens/food forests and want to experiment with this concept for myself.
The wind is a huge factor when it comes to growing and gardening on the prairies.
Our yard site is already quite well protected with stands of native aspen, but shoring up and reinforcing our shelterbelt with multi-functional plants such as Golden Willows that can be coppiced, provide bird and bee habitat, and add seasonal aesthetic appeal, is a bonus.
Trees and shrubs are slower to establish and start producing, so getting some in the ground in phase one was important to me.
How: With all things garden and landscape selling out in record time in these pandemic years, I made sure to order my plants early.
Back in January, I nailed down my species list and began to place orders with nurseries. Even at that point, there were a few sold-out items.
The next step in the process was to plan out where exactly everything would go.
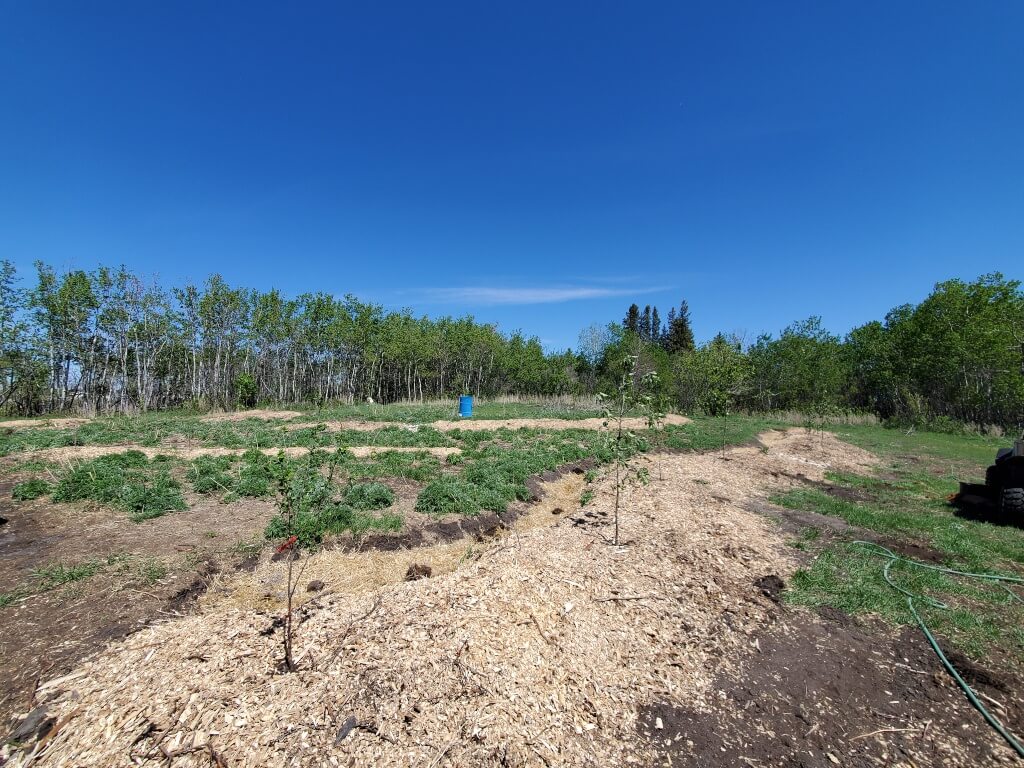
Once the earthworks were done, I flagged the food forest berms with where each variety was to be placed based on mature size, pollination needs, and climate requirements.
This was a bit like putting a puzzle together, and there were many revamped versions laid out.
The final step was to get the plants in the ground. Over a couple of days, we managed to get 20 Scots Pine, 10 Golden Willow, and 17 different fruit trees and shrubs planted.
Three weeks later, they seem to be doing ok, despite some signs of transplant shock and continuing unpredictable weather bringing everything from extreme heat/wind to a brush with frost in mid-June.
As long as we have some success with growing this first batch, future phases will include more tree and shrub plantings in various other areas of the yard site.
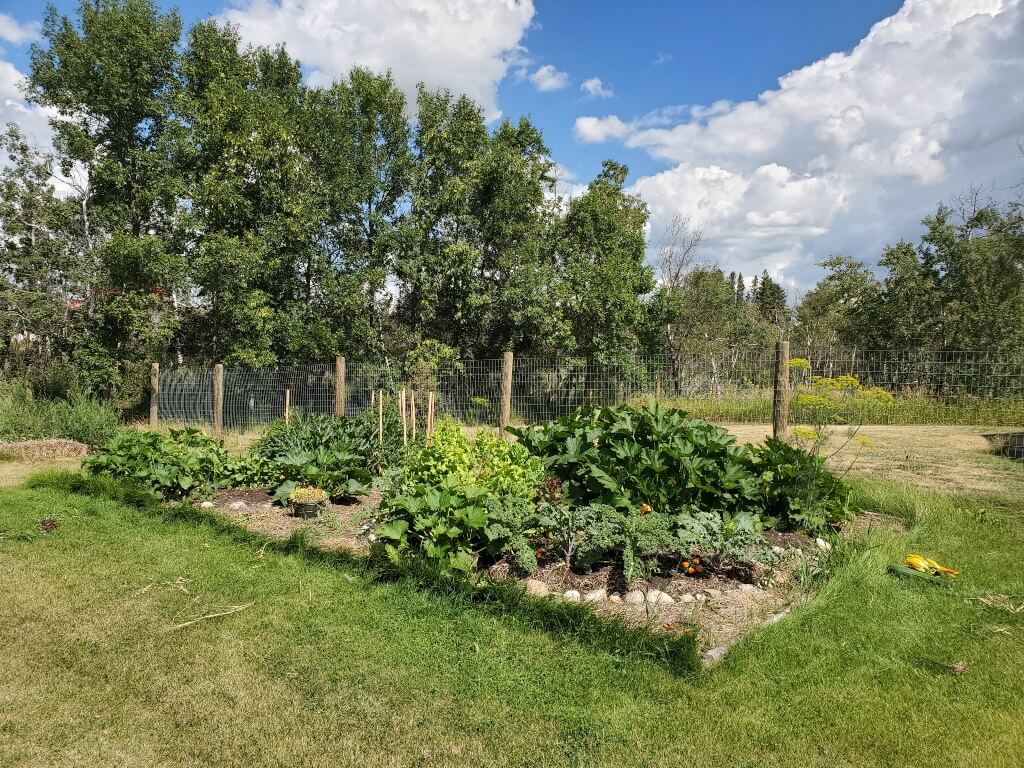
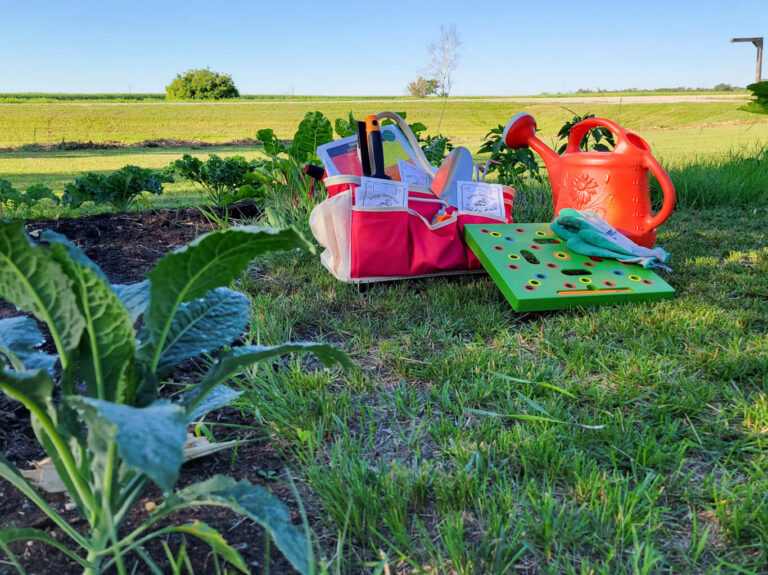
ANNUAL GARDENS
What: Establishing kitchen gardens for annual vegetable production.
When: Spring 2020.
Why: This is also to obtain a yield and play with some experimentation. Annual gardens are a great way to start growing food quickly, especially while waiting for perennial food sources to establish.
It’s also a great way to obtain foods that, in our short growing season, would otherwise be impossible to grow as perennial plants. If we want to be self-reliant, we have to garden. It’s as simple as that.
How: This process was started last growing season and was the first thing I did in the yard.
There was no existing garden here, and I was interested in experimenting with converting lawn to growing beds.
I chose a small area, sheet mulched it, and grew my first (mostly) successful garden. You can read more about the details of that process in my post about my first vegetable garden.
This year, I’ve continued the experiment by planting out this area again with some different types of vegetables. I’ll be observing the site to see how it does and playing around with other techniques and alterations.
In future phases, I’ll be expanding and establishing growing beds in other areas of the yard.
UTILIZING AND MAINTAINING EXISTING RESOURCES
What: Maintaining and making use of on-site resources to further our goals and plans. This is a random mish-mash of small projects that intersect with the larger things we have going on.
When: Spring 2020/Ongoing.
Why: Permaculture is all about closing the loop as much as possible. Any on-site resources incorporated into the cycle means less need for external inputs and less waste going out the other end.
How: The first step is, of course, observation. Learning what you’ve got, how to use it, and how to keep it in good working order are the most significant things to figure out.
We were quite lucky that our yard site included the house, barn, and horse pasture and was otherwise relatively untouched for the past 30 or so years.
This means we have areas of native aspen parkland habitat, a collection of random farm things, a giant pile of horse manure, established structures and pathways, and likely a hundred other things I just haven’t come across yet.
The native habitat is a source of plants to forage and seeds of species adapted to this specific site.
The horse manure has been used in the garden and for various other plantings. The horse-made pathways through the bush have been touched up and became our walking trails.
An old snowmobile trailer that was left in a forgotten corner is now our water trailer. Old pallets are now compost bins.
Excess dead trees and shrubs have become a towering pile of woodchip mulch.
The barn has been painted, and we’re slowly picking away at various house renos.
Maintenance and making use of existing resources can sometimes feel insignificant and not as rewarding as, say, converting an old corner of a pasture into a shiny new quail coop, but it’s these little, ongoing things that keep us busy and end up making such a difference in the long run.
There you have it, Phase One of our permaculture design, in action.
I look forward to providing updates on our successes and failures as we move through the process and plan to write future posts with greater detail on some of the projects we have going on.
READ MORE: WHAT IS PERMACULTURE?
One Comment